Wednesday, December 12, 2012

Salted Caramel Chocolate Chip Cookie Bars - The Great Food Blogger Cookie Swap 2012

As many of you may or may not know, this year I decided to participate in the second great food blogger cookie swap! Last year was so much fun that I knew I had to do it again. I know you all might be thinking this sounds a little strange, especially the whole getting cookies from strangers thing, but I promise it's not scary. Food bloggers are friendly! Here is how it works. First and foremost, you must have a blog to participate in the cookie fun. Then, you sign up and get the names and address of three other bloggers. You then make and bake your cookies, package up one dozen for each blogger, send them off and hope they don't arrive as cookie crumbs. In return, you will receive one dozen cookies from three other bloggers. So many cookies and so much fun! I decided to have my cookies shipped to my office so I would not be tempted to woof three dozen cookies at home by myself (not that I am sure I could do that anyways) and so I could share them with my co-workers. Good idea, right? 

Last year I decided to put the cookies I received and the cookies I made all in one post. Bad idea. Well, maybe not that bad of an idea, but it was cluttered and this year I've decided to do two different posts. This one will be all about the cookies I sent out, the next post will be all about the cookies I received and my fellow bloggers (plus links to check them out too - which you should!). Now, let's get to the cookies! This year I decided that I wanted to do a cookie bar. It was something different, but I also thought this would hold up better during shipment. Especially since all my cookies were going to the East Coast this year! I must have spent hours researching recipes, but nothing really stood out to me. I was starting to lose hope of my cookie bar idea (well, at least a new and fun cookie bar), and then all of a sudden this salted caramel chocolate chip cookie bar appeared on my screen. My mouth suddenly filled with saliva and I knew it was the one. Does this happen to anyone else? I think it was the combination of the salt, gooey caramel and chocolate chip cookie dough that sold me.

Let me just say - boy, am I SO glad I made these. First, they are a cinch to put together and second, they are one of the best cookies I've ever made. I am not kidding. Seriously. I've made these several times since the cookie swap (a few co-workers even put an order for these for the holidays!) and everyone that has tried them is in love. Caramel love. There is just something about that salty sweet combination that is just killer and just so super addictive. Okay, back to caramel goodness. The only downside to these cookies is that you have to wait for what seems like foooorever (Sandlot reference here) for them to cool and set up. But trust me, it's totally worth it. If you cut them up right away, you will have a big pile of caramely chocolatey gooey mush. Which doesn't sound bad, but you know what I mean. Just promise me you will wait for these to cool before you cut them, okay? I know it's hard to wait, but I know you can do it. Be strong for the cookies!

Now for cookies! It's what you've been waiting for right? I had to keep the suspense building! The dough is a totally piece of cake to make and pretty much just like any other chocolate chip cookie dough you make. Although, this recipe calls for melted butter. Hooray - no trying to soften butter in the microwave only to find out you've totally melted it or that it exploded all over the microwave. I know that it's happened to you too. Don't deny it. Other than the melted butter, it's pretty much just sugar, eggs, flour and chocolate chips. Lots of chocolate chips. They make everything better. At least I think so.Once the batter is ready (try not to eat it all straight from the bowl), put half of it into the pan and make an even layer. Wait, before we go any further, make sure to line your pan with non-stick foil. I used regular foil the first time and although it works, the non-stick is way better. Like, totally way better. Literally, non-stick and it peels right off. That's just my two cents though. 

Once the first layer of cookie dough is in the pan, pour the caramel sauce over the top, sprinkle a little fleur de sel (or sea salt) over the top and then cover with the remaining cookie dough. I like to evenly plop the dough all over and then use my fingertips to spread it out. This prevents a huge mess and doesn't compromise any of that delicious caramel. Don't worry about the dough not fully covering the caramel. The cookie dough will do it's thing and spread out evenly. Just trust me here. I was worried too, but it was just fine. After about half an hour of baking, you will have the most delicious tray of cookies EVER. After these babies have fully cooled, you can cut them, but I find it easier to place them in the fridge for several hours or overnight. This will make sure the caramel won't ooze out. You wouldn't want to waste all that delicious caramel, now would you?

These delicious bars are now one of my top three favorite cookies, if not my favorite. I can't believe I just said that. I don't just let any cookie take the #1 spot. I am pretty confident in saying that thse may become your favorite too. One of my coworkers who tried this told me I need to quit my job and make these for a living. That should tell you all you need to know right there. What are you waiting for? Go makes these bars right now!

*Warning - lots of photos!

ingredients

if you don't have fleur de sel you can just use sea salt.

mmm, melted butter

melting the caramels. want to guess how long it takes to unwrap all of those bad boys?

adding in the chocolate chips

one of the seven wonders of the world - chocolate chip cookie dough!

add half of the dough to the pan in an even layer

then add the caramel!

add plops of cookie dough all over

then spread out with fingers (gently!) and then top with more fleur de sel

hot out of the oven

cut up and ready to enjoy. please don't lick the screen.


Salted Caramel Chocolate Chip Cookie Bars (www.browneyedbaker.com)

2 1/8 cups all-purpose flour
½ teaspoon baking soda
½ teaspoon salt
12 tablespoons unsalted butter, melted and cooled to room temperature
1 cup light brown sugar
½ cup granulated sugar
1 egg
1 egg yolk
2 teaspoons vanilla extract
2 cups chocolate chips
10 ounces caramel candy squares, unwrapped
3 tablespoons heavy cream
Fleur de sel (or other sea salt), for sprinkling over caramel and bars


Preheat oven to 325 degrees F. Grease a 9-inch square pan; set aside.

In a medium bowl, whisk together the flour, baking soda, and salt; set aside. Using an electric mixer, mix together the melted butter and sugars on medium speed until combined. Add the egg, egg yolk, and vanilla extract and mix until smooth. Slowly add the dry ingredients and mix on low, just until combined. Stir in the chocolate chips.

In a medium microwave-safe bowl, combine the caramels and heavy cream. Microwave on high until the caramels are melted, stirring every 20 seconds. This will take about 2 minutes.

Press half of the cookie dough into the prepared pan, smoothing the top with a spatula. Pour the hot caramel over the dough cookie dough and spread into an even layer, leaving some empty space around the edges. Sprinkle the caramel with the sea salt. Drop the remaining cookie dough in spoonfuls over the caramel and gently spread the dough with a spatula until the caramel is covered. Sprinkle the bars with additional sea salt.

Bake the cookie bars for 30 minutes, or until the top of the bars are light golden brown and the edges start to pull away from the pan. Cool the bars on a wire rack to room temperature, then refrigerate for about 2 hours to allow the caramel layer to set. Cut into squares and serve. Store leftovers in an airtight container at room temperature.


This recipe doubles very easily. Just use a 9x13 pan and increase the cooking time by about 5 minutes (keep an eye on them - when they are lightly golden brown, they are done!)!


Monday, December 10, 2012

Cheesy Beer Bread

Cheese + beer + bread = deliciousness. 

I decided to try out this bread recipe because I was making the captain a huge batch of crockpot chili and wanted to give him a little something something as surprise to go with it. I knew I could do cornbread, but I wanted to do something a little different. I figured that cheese goes on top of chili and the captain would probably drink beer with the chili, so why not put both in a bread! Genius right? Well, I didn't come up with amazing flavor combination, but I wish I did. There's always next time.

This bread is a quick bread. No yeast needed. I love making yeasty breads, but sometimes I don't want to deal with all that kneading and waiting for things to rise, so this was just perfect. You mix the cheese, beer and other ingredients all together, place in a bread pan and bake for about 45 minutes. And don't forget to top it with melted butter. Butter makes everything better. Paula Deen would agree. The prep time is lightening fast, but the waiting for it to bake and cool is the hard part. When this bread is baking it makes your house smell like fresh baked bread, beer and mac & cheese. Strange, but delicious. I was really tempted to dive in and just take a chunk of the bread off as soon as it came out of the oven (I had to make sure it was edible for the captain!), but I resisted the urge. I waited until it was cooled and took a sample slice. This bread was moist, chewy and and the cheese and beer really stood out. I especially loved that little garlic bite too. Then again, I love garlic. The best part is that the cheese that  baked on the top of the bread got all crunchy delicious and kind of created this cheese crust. Who can say no to a cheese crust?

I forgot to take a picture of the ingredients. Oops. Guess I was too excited for cheesy beer bread!

flour + seasonings

adding in the beer!

rivers of butter

baked and cooling

Cheesy Beer Bread (Cooks Illustrated Cookbook)


2 1/2 cups all-purpose flour
1 cup grated Gruyere cheese

3 tablespoons granulated sugar
4 teaspoons baking powder
1 teaspoon salt
1/2 teaspoon ground pepper

1 teaspoon garlic powder
1 1/4 cups light-bodied beer
5 tablespoons unsalted butter, melted and cooled, divided


Preheat the oven to 375°F. Grease an 8 1/2-by-4 1/2-inch loaf pan.

In a large bowl combine the flour, cheese, sugar, baking powder, salt, garlic powder and pepper. Stir in the beer and 4 tablespoons of the butter. Be careful not to over mix. Place the mixture into the prepared loaf pan and smooth the surface. Brush lightly with the remaining 1 tablespoon of butter. Bake until golden brown and a toothpick inserted into the center comes out with just a few crumbs attached, 40 to 45 minutes.

Let the loaf cool in the pan for 10 minutes before turning the loaf out onto a wire rack to cool for 1 hour before serving.


You could use this bread for a super delicious sandwich, but I think it's best dunked into soup or chili!


Saturday, December 8, 2012

Brown Butter Rice Krispy Treats

Everyone loves rice crispy treats. In all honestly, what is there not to love? They are so simple and so buttery, marshmallowy delicious. There is just something about that crunch and chewiness that makes rice crispy treats so darn irresistible. But you know what makes them even better? Brown butter. Just saying.

Awhile back, I showed you how to brown butter. If you don't remember how to or never have, take a peek at this post. Brown butter must be the new rage in the culinary world because I am seeing it in all kinds of recipes these days. Maybe I am just behind the time? That's probably what's going on here. Nevertheless, brown butter gives your dishes this unbelievable flavor that just can't be matched. It's rich, dark, nutty and is the perfect compliment to these sweet and sticky treats. Once your try it, you'll never go back. Don't say I didn't warn you.

This recipe takes only five ingredients and more than likely, you have most everything you'll need in your pantry already. All you need it butter, vanilla, marshmallows, salt and rice cereal. Okay wait. I lied. Maybe six ingredients if you want to drizzle white chocolate of the top of the bars when they are done. You don't have to do this, but I like the added touch, because white chocolate is delicious. Did you know that white chocolate is not really white chocolate? There is your fun fact of the day. You're welcome. These treats can be whipped up in no time flat and are ready in about an hour. I thought about freezing these, but I don't think that the rice cereal would hold up well. In fact, I think it would get rather soggy. I don't think you will even have any left over to freeze anyways. They are that addicting. I am not kidding. These may become your new favorite treat!

I got this BIG bag of crispies for only $4! No one will know and they taste the same as the brand name

browning that butter!

I could not find 10oz packages of mallows anywhere. My store only had 16oz. Just eyeball 10oz if you can't find that size bag.

ooey gooey sticky.

add in the crispies

use those muscles to mix!

dumping into the pan to cool

drizzled and ready to cut (and eat!)

Brown Butter Rice Crispy Treats (courtesy of Handle the Heat)
 
2 sticks (8 ounces) unsalted butter
1 teaspoon vanilla extract
Two (10-ounce) bags marshmallows
1/2 teaspoon kosher salt
9 cups crispy rice cereal


Spray a 13x9-inch baking pan with nonstick cooking spray (I used disposable foil pans for ease of cleaning and messes)

In a large saucepan set over low heat, melt the butter. Once melted, the butter will begin to foam and sizzle. Continue to cook until the sizzling subsides and the butter is brown in color and smells nutty, about 5 minutes, watching carefully to avoid burning the butter. Immediately add the vanilla, marshmallows and salt to the saucepan. Cook on low heat, stirring constantly, until the marshmallows are completely melted.

Remove marshmallow mixture to a large mixing bowl. Add the rice cereal and stir with a rubber spatula until the cereal is evenly coated. Scrape mixture into prepared baking pan in one even layer. Allow to cool to room temperature, about 1 hour. Cut into 12 squares before serving. Squares can be stored in an airtight container at room temperature for up to 2 days.


These rice crispy treats would be so cute wrapped up with a little wax paper and a bow for the holidays! Something different and something totally yummy.


Butter + Love


This is too good not to share. Truer words have never been spoken.


Love.

Thursday, December 6, 2012

Green Chili Enchilada Bake

When you don't feel like making dinner or don't know what in the world to make for dinner, I highly recommend this recipe - green chili enchilada bake. Doesn't it sound delicious? 

I saw this recipe on Ms. Jenny Flake's blog, Picky Palate. If you have never checked out her website or cookbook (she just published one!), you must check her out. Here is the link to her site. Her blog and cookbook focus on family style food for even the pickiest of eaters. I know you know you have a few of those in your family! I have made a few of her dishes and they are fabulous and everyone always loves them. I don't know where she comes up with all her ingenious ideas, but they are pretty awesome. Today she posted about creamy junior mint hot cocoa. How good does that sound? I am already drooling. Hot cocoa is good enough on it's own, but with junior mints? Yummo!

See, here I go again getting all distracted. Lovely. Anyways, this enchilada bake is a piece of cake, or should I say, piece of casserole (that kind of sounds funny) to make. It's one of those recipes that you just dump it all in, mix and bake. Don't you just love that? I know I do. I love making elaborate and complicated dishes, but sometimes, it's nice to just step back and make something simple, easy and just as delicious. This recipe only takes a few ingredients which I am sure you already have most of in your kitchen - chicken breast, black beans, cheddar cheese, corn tortillas, sour cream, green enchilada sauce, and salsa verde. That's it! You seriously just mix everything together (you can even do it in the same pan you are going to bake it in!) and then top with cheese and bake. You can even make this in the morning (which I did) and then bake it when you get home. I had already bought everything the night before for dinner with the captain, but when we decided to have leftovers, I saved this for another night. Luckily, my dad and I had an impromptu dinner date that week, so I whipped this up in no time flat.

I decided to do a calorie count on this and it's only 350 filling calories for 1/8 of the 9x13 pan - which is a decent serving size! Winning! To reduce the calories a bit more, I decided to use high fiber corn tortillas in place of the plain white corn ones, fat free sour cream instead of light and then light Mexican blend cheese instead of cheddar. Of course you don't have to do that, but that's just another way to change it up a bit if you are watching your waste line like I am. I even added a little chopped green onion on top for color a little oniony flavor. Again, you don't have to do this, but it is a nice addition. It really doesn't get any easier or more delicious then that. Mix, dump, bake. Serve this dish with a big salad and some sliced tomato and avocado and you are good go. 

Bonus Note: this dish gets a Dad stamp of approval. He loved it!


ingredients (see the fiber tortillas - those are the best!)
mix everything in the pan

bake!

eat!

even better for lunch at work the next day!

Green Chili Enchilada Bake (slightly adapted from www.picky-palate.com)


1 cup mild green enchilada sauce
1 cup reduced fat sour cream (I used fat free here, but use what you like or have)
1 cup salsa verde, mild or spicy depending on taste
12 white corn tortillas broken into 1 inch pieces (I used high fiber corn ones, but use what you like)
2-3 cups cooked chicken breast

One 15 ounce can black beans, drained
1 cup shredded cheddar cheese (I used reduced fat Mexican blend, but use what you like)

1/4 cup chopped green onion (optional) for topping

Preheat oven to 350 degrees F. and spray a 9×13 inch baking dish with cooking spray.

Place enchilada sauce, sour cream and salsa into prepared baking sheet. Stir until well combined. Stir in broken tortillas, chicken and black beans. Stir to combine and top evenly with cheese. Bake for 25-30 minutes, until cheese is hot and melted. 

Makes 8 servings


Simple. Easy. Delicious.

Wednesday, December 5, 2012

Maple Pumpkin Cheesecake Bars

Just because Thanksgiving is over, doesn't mean we have to stop eating pumpkin, right? I sure hope not. Pumpkin is one of my favorite things and when the holidays come around, I can't get enough of it. Plus, pumpkin is great for you! Here are just a few benefits of eating pumpkin:
  1. One cup is about 50 calories and it has three grams of fiber (I am 80 years old at heart and love my fiber!)
  2. Pumpkin contains lots of vitamin C and it's great for your skin
  3. Pumpkins are full of beta-carotene, an essential antioxidant that fights cancer
And those are just to name a few. Not to forget, it's totally yummy and can be used in sweet and savory dishes (pumpkin ravioli, pumpkin risotto and the list goes on and on). One of my favorite ways to eat it (besides pumpkin pie and pumpkin bread, duh) is putting a dollop in some oatmeal or even substituting it for the oil, eggs and water in a brownie mix. Bet you didn't know you could do that now did you? You can. I'll show you that sometime soon. Promise.

Okay, back to maple pumpkin cheesecake bars. I told you I get sidetracked easily. I made these bars for a potluck lunch we had at work to say goodbye to one of my favorite security guards, Sargent Thomas. It was sad to see him go, but he is on to bigger and better things with the state of California and I wish him the best of luck! Needless to say, I wanted to make him something special, different and something that brought in the thanksgiving pumpkiny goodness. As soon as I saw this recipe, I knew I had to make it. Come on now. It brings in two of my obsessions - maple and pumpkin! How could you go wrong? Plus, the crust is made from crushed gingersnaps that give the bar this spicy kick that just puts them over the top delicious. These bars are a cinch to make. I am not kidding. I know the word cheesecake might scare you, but these are easy peasy.

First you will bake your crust - gingersnaps, butter, sugar. Quite honestly the best crumb crust ever. I could just eat this plain. No baking. Just straight from the bowl. Wait, did I just admit that? Just make sure to really pack the crust in your pan really, really well. I thought I had, but I guess not enough. When I poured the batter over the cooked crust, part of the crust came up. Not much, but I had a mild panic attack that it was ruined. Okay, a major panic attack. The good news, is that it wasn't. So here is my tip. After the crust comes out and while you are making the filling, let the crust cool about 15-20 minutes. This will help it firm up a bit. Then, once you have the velvety pumpkin and maple filling ready to go, pour it gently over the crust and then bake. That's it. No water bath. No fussing with it. Just bake it. Now for the hardest part - letting it cool. These babies will fill your home with holiday goodness, but don't touch, lick or eat them until they are fully cooled! Just trust me on this one and no, I did not lick mine when they came out of the oven. I just wanted to clear that part up.


magic ingredients

mmm, crust

make sure to line with parchment or foil to get the bars out easy!

weeeee, evaporated milk

cinnamon and cloves are a must

my bff and a bowl of pumpkin heaven

baked!

a close up. please don't lick the screen.

Maple Pumpkin Cheesecake Bars (www.browneyedbaker.com)


For the Crust:
42 gingersnap cookies (about 10 ounces, give or take.)
2 tablespoons granulated sugar
5 tablespoons unsalted butter, melted


For the Filling:
8 ounces cream cheese, at room temperature
1 cup light brown sugar
1 (15-ounce) can pumpkin puree (about 2 cups)
2 eggs
1 (12-ounce) can evaporated milk
2 tablespoons pure maple syrup
1 teaspoon vanilla extract
1 teaspoon ground cinnamon
½ teaspoon ground ginger
¼ teaspoon kosher salt
Pinch ground cloves


Preheat oven to 350 degrees F. Grease a 9x13-inch baking pan and line with parchment paper or non-stick foil so that it extends over each long side of the pan.

Make the Crust: In a food processor (if you don't have one, just put the cookies in a ziploc bag and break the cookies up with a rolling pin or a heavy pan), pulse together the gingersnaps and sugar until they become fine crumbs. Add the melted butter and pulse a few more times to incorporate. Press the crumbs evenly into the bottom of the prepared pan. Bake for 12 minutes. 

Making the Filling: While crust is baking, prepare the pumpkin filling. Beat together the cream cheese and the brown sugar on medium speed until smooth and creamy, scraping the sides of the bowl as needed, about 3 minutes. Add the pumpkin and mix on low speed until completely incorporated. Add the eggs one at a time, beating well until fully incorporated and scraping down the sides of the bowl between each addition. Add the evaporated milk, maple syrup and vanilla, and beat until well combined, about 1 minute. Add the cinnamon, ginger, salt, and cloves and mix on low to incorporate.

Pour the filling over the prepared crust and tap the pan on the counter to remove any air bubbles. Bake until the filling is set in the center, about 35 minutes. Remove from oven and set on a wire rack to cool. Once the bars have cooled to room temperature, you can cut and serve them, or you can refrigerate them and serve them chilled. Using the parchment paper overhangs, lift the bars from the pan and onto a cutting surface. Cut into squares and serve with whipped cream, if desired. Store the bars in an airtight container in the refrigerator for up to 4 days (if they even last that long).


Pumpkin is not just for Thanksgiving anymore!


Sunday, December 2, 2012

Pasta e Fagioli

Italian to English translation - pasta and beans. Say it with me, pasta fazool. That sounds funny, doesn't it. Fazoooool.

This stormy and rainy winter weather we are having here in California just screams big bowl of soup. At least it does to me. Even more so, it screams crock pot. Which you all know by now is one of my favorite kitchen gagets. My #1 favorite and BFF in the kitchen, is my Kitchen Aid mixer. Now that I think about it, I should probably give it a name. I seem to give everything else a name. Yes, I am strange. I like to think it's cute. Okay, back to soup and pasta e fagioli. Now, this name may look familiar. Does anyone recognize it? Well, if you have ever eaten at Olive Garden, you've probably seen this on their menu. Well, if you don't eat their soup (wait, slurp their soup), maybe you haven't. I'll be honest, I really only go their for their soup and salad and breadsticks. I try to limit myself to one garlicky breakstick, but lets be honest. Who can just have one? The funny thing is that this pasta and beans soup is probably the only soup I've never had there. I prefer the chicken gnocchi or I'll switch it up with the zuppa toscana (here is the recipe!). Maybe I should try their pasta e fagiloi next time I go there.

Time to get off my Olive Garden soup tangent now. My mom has made pasta e fagiloi quite a few times and it's something that I've grown to love. At first I thought that pasta and beans sounded like a strange combination, but trust me, it's not. This thick soup has just the right amount of everything - carrots, garlic, beef, beans, tomatoes, seasonings and so much more. For a little history on this dish, when it first originated, it was a meatless dish. I am not sure when the meat was introduced to it, but if you are a vegetarian or just don't want to put the meat in it, you can totally take it out. No biggie. If you do, be sure to swap the beef broth for veggie broth. This soup couldn't be easier to make - it's one of those dump everything in, give it a stir and let it cook all day. The only real cooking you have to do is browning the meat, but that is super easy.  In 8-10 hours you will have a hot, filling and delicious meal waiting for you at home. Serve with a salad and a big piece of crusty bread and you are good to go.

*Bonus Tip: Since this recipe makes a ton of soup, I like to cook my noodles separately and add them in each serving. This will prevent the noodles from absorbing all the liquid in the soup and help them from getting overly mushy. But if overly mushy noodles is your thing, then go for it.  This would also go for freezing it as well.


ingredients

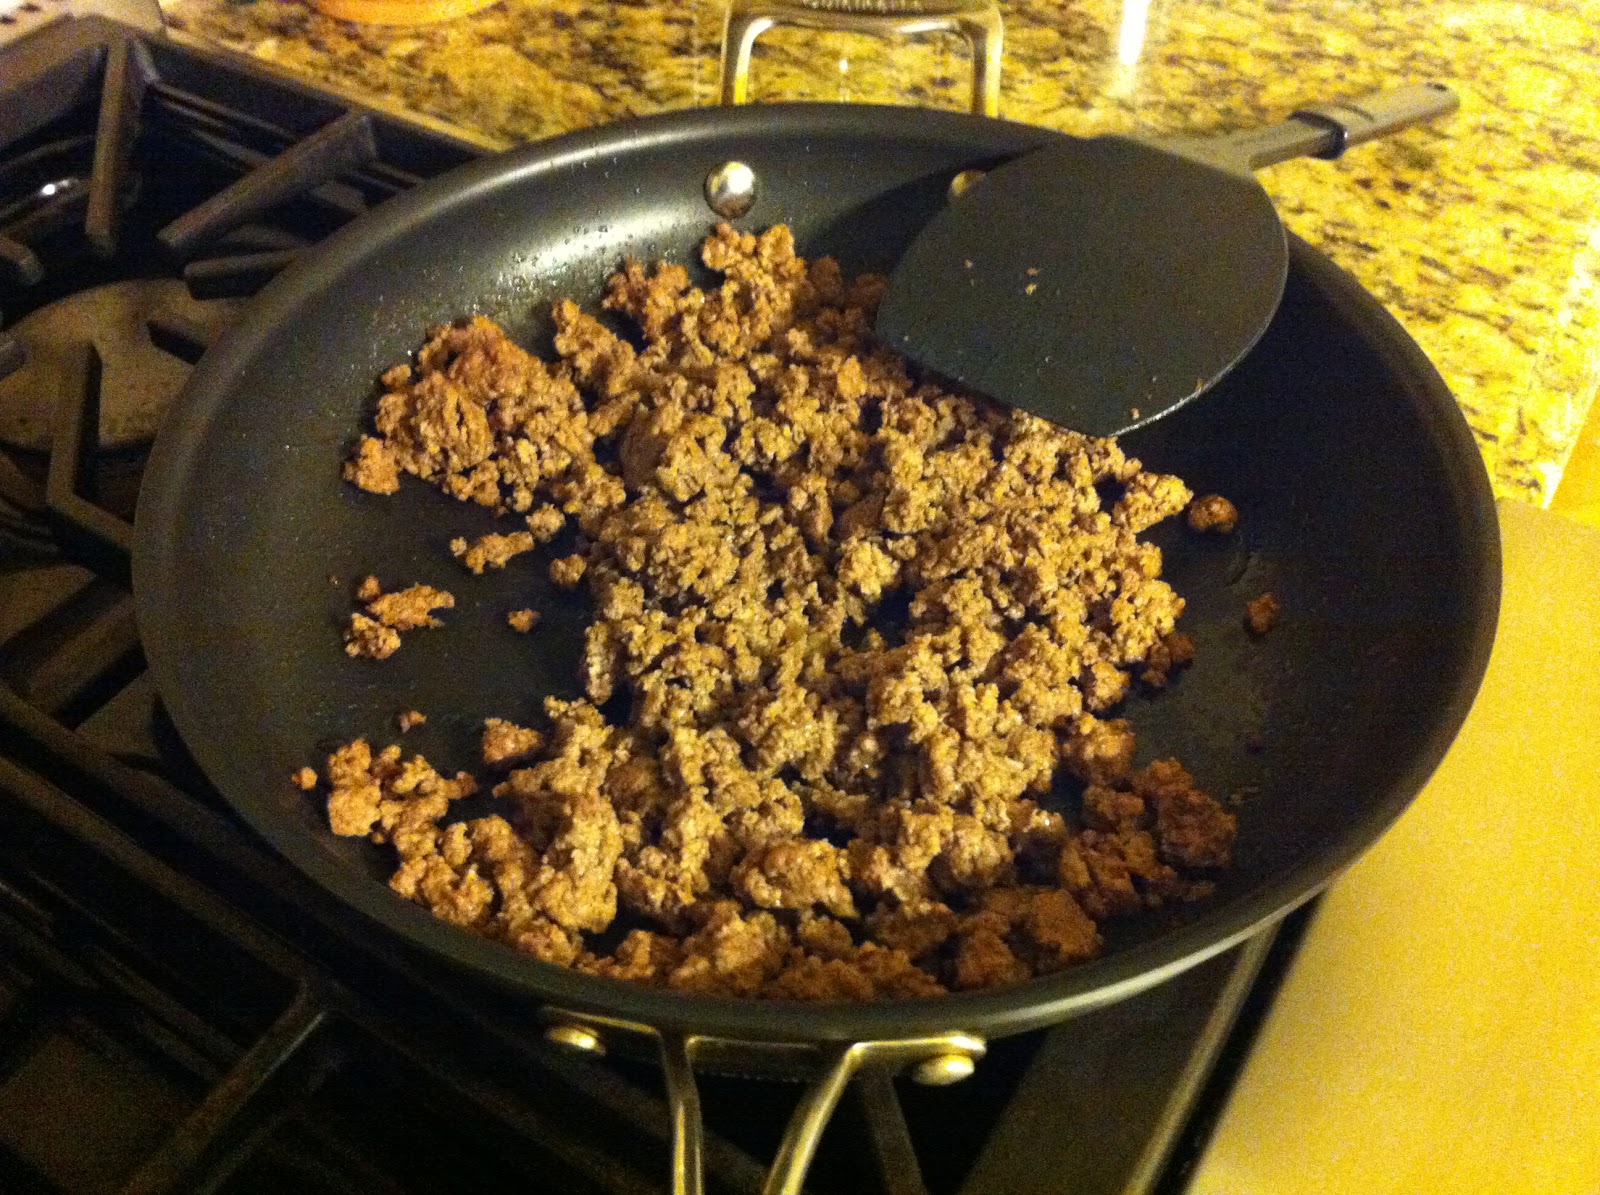
meaty meat meat

veggies + garlic

don't forget to drain those beans!

everything in the pot

after slow cooking all day, dinner is served!

Pasta e Fagoli (adapted from www.food.com)


1 pound lean ground beef (a little more wouldn't hurt anything either)
1 onion, chopped (red or white - I used red)
5 carrots, chopped
4 stalks celery, chopped
5 cloves garlic
1 dash red wine (optional, and by dash I mean about 1/2 cup)
2 (28 ounce) cans diced tomatoes, undrained
1 (16 ounce) can red kidney beans, drained
1 (16 ounce) can white kidney beans, drained
3 (10 ounce) cans beef stock (beef broth is just fine here too)
3 teaspoons oregano
2 teaspoons pepper
5 teaspoons parsley (dried here is fine!)
1 teaspoon red pepper flakes (optional)
1 tablespoon tomato paste (optional)
1 (20 ounce) jar spaghetti sauce
8 ounces pasta (I used ditalini, but any small shaped pasta will work)
 
Brown beef in a skillet and drain the meat on a paper towel to get rid of any excess fat. Set aside. Add all other ingredients to the crock pot except pasta. Add in drained meat. Cook on low 8-10 hours. If you want to cook the pasta directly in the soup, add the pasta during last 30 min for one hour on low. If you want to cook your pasta separately, boil the pasta according to the package directions.

Don't be a fool - eat pasta fazool!