Friday, July 11, 2014

The Easiest Chicken Enchiladas Ever

I am not kidding when I say these chicken enchiladas are the easiest ever. You can whip these up after a long day of work and not feel the least bit tired or make them ahead and freeze them for another day. I usually double the recipe and make one for now and one for those nights where I am in class until 9pm and the captain can just pull them out of the freezer and make himself a nice homemade meal. Quick. Easy. Delicious. Now that's what I am talking about.

All you will need to make these delicious enchiladas are - a cooked rotisserie chicken, your favorite flour tortillas, cheese of your liking (I used pepper jack for more flavor!) and green verde salsa. Of course you don't have to use a rotisserie chicken if you have chicken breasts on hand. Just cook them up in the oven until they are done and shred them up (another good thing to keep on hand in the freezer for quick meals!). Those rotisserie chickens are sold in almost any store (Costco has the best deal!) these days and make for a great grab and go when you need chicken for a recipe. I won't keep boring you with why I love rotisserie chicken. Let's get to enchiladas. If you are using the store bough chicken, pull off all the meat and place into a bowl. If you are using your own cooked chicken, do the same. Then add in shredded cheese and a bit of salsa. Mix up and your filling is ready to go. Now that wasn't hard. Don't forget to put a little bit of salsa in the bottom of the pan you will be using so that the enchiladas don't sick when they bake. Evenly distribute the filling to each of the tortillas, roll up and place in a pan. Then pour the rest of the salsa on top of the enchilada and sprinkle a bit more cheese. Place in the oven and in about 20 minutes, the cheese will be melted and your home will smell like a mexican restaurant. Ole!

these smart and delicious tortillas are seriously the best (and low calorie too!)

salsaaaaa

don't forget to add the cheese!

pour a bit of salsa in the bottom of the pan to avoid sticking

mix the filling up

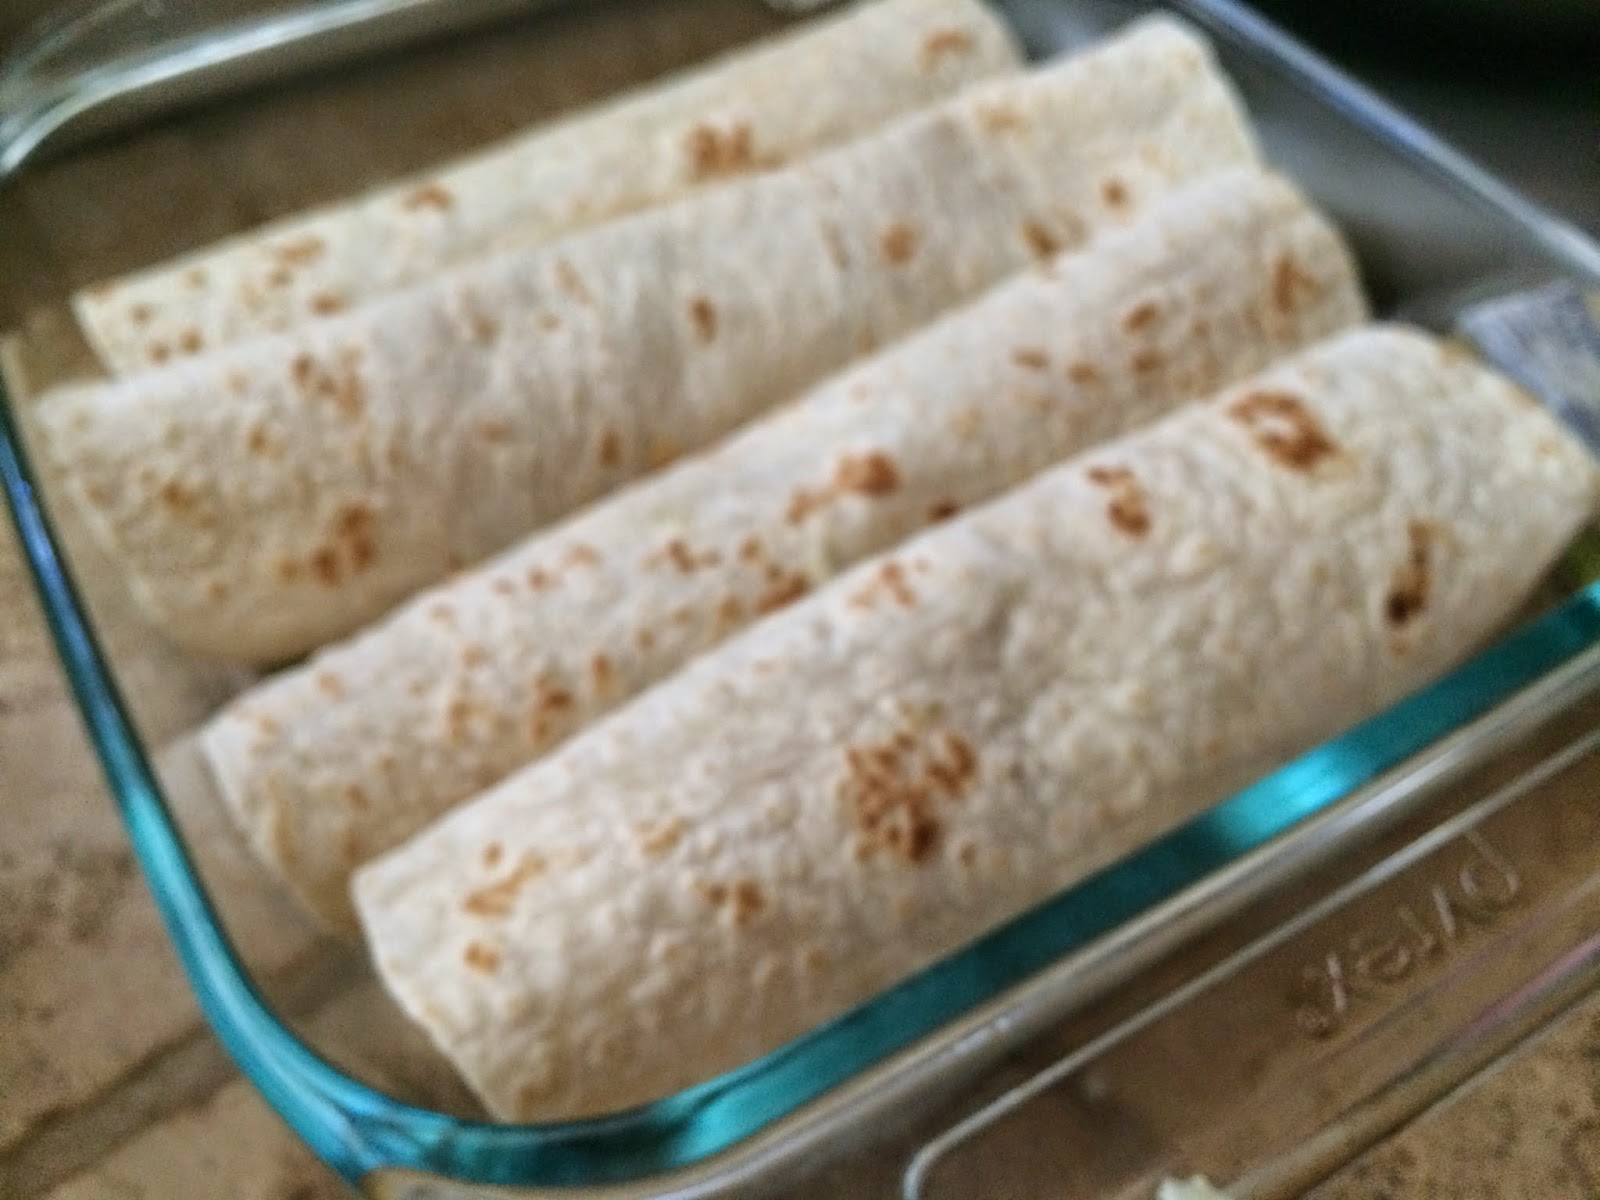
roll up in the tortillas

one for now and one for later!

 The Easiest Chicken Enchiladas Ever (Kevin and Amanda)

Make eight (8) enchiladas


1 (16 oz) jar Salsa Verde 2 cups shredded pepper jack cheese 3 cups cooked, chopped or shredded chicken 8 medium (soft taco size) flour tortillas

Preheat oven to 350 degrees F. Spray a 9×13 baking dish with cooking spray. Spoon a thin layer of salsa verde into the bottom of the dish.


Combine chicken, 1 cup salsa verde, and 1 cup cheese in a bowl. Spoon about 1/3 cup mixture down the middle of a tortilla. Fold sides over and place seam side down in prepared baking dish. It’s okay if they overlap a bit. Top with remaining salsa and 1 cup shredded cheese. Bake uncovered for 20-30 minutes until bubbly. Serve and enjoy!


These enchiladas can be made with red salsa too!

Wednesday, July 9, 2014

Blue Cheese and Bacon Twice Baked Potatoes

Twice baked potatoes are something that is always on the menu in our house. In fact, it's my go to potato. That is if I am not making mashed. The best part about a twice baked potato is that not only can you make them a day or two ahead of time, but they freeze really well too. I love having quick and easy things to grab from the freezer to cook after a long day of work and school. Trust me, it makes all the difference when the last thing you want to do is be in the kitchen cooking. Which , I know sounds weird coming from me, but it's true. Sometimes you are just dang tired!

My mom first taught me how to make her original twice baked potato years and years ago - russet potatoes filled with cheddar cheese and chives! Then years later, she made another version with red potatoes filled with parmigiana and roasted garlic. Fancy. Both are so amazingly delicious and guests always think they are always so fancy. Let me tell you, they couldn't be easier to make. Trust me. Now, as much as I love my mom's two versions, I am always looking for new ways to spice up potatoes. The captain is a huge potato lover and will pretty much eat them in any form he can get them. Well, not sweet potatoes. Maybe someday I can change his mind, but for now, I will stick to regular potatoes. I knew the captain loved blue cheese, so I had to somehow incorporate that into the potato. At first, I thought it sounded strange, but I figured I'd seen it on menus before, so how weird could it be, right?

I did quite a bit of searching some of my favorite blogs and finally came across a recipe that even made my mouth water - blue cheese and bacon. Who doesn't love bacon, right? Come on now. So, I headed right to the store to get the few things I needed and then I came to the cheese section - who knew there were so many types of blue cheese. I seriously stood there for 15 minutes debating on which one to get. Then, I saw applewood smoked blue cheese. Intriguing, no? I thought so, so I through it in my cart and headed home with all my ingredients. Of course, you don't have to use applewood smoked. Just use whatever blue cheese you like or what your store has in stock. Some people say the smellier the better, but I say, just use what you like. No matter what you use, I know you will love these potatoes. Not only could you serve them with a simple salad, but you could also pair them with a nice grilled steak or chicken breast (and veggies, of course). How good does that sound? I am willing to bet that these blue cheese and bacon potatoes will soon become on your go-to list. They are that good. Have I steered you wrong yet? I don't think so.

yumminess

mash that filling

look at all that blue cheese!

stuff the potato skins

top with cheddar cheese and bacon!

are you drooling yet?

Blue Cheese and Bacon Twice Baked Potatoes (Gimme Some Oven)

Makes 4-8 Servings

4 medium baking potatoes
1/2 cup low-fat sour cream
1/4 cup crumbled blue cheese (or more to taste)
1/4 cup milk or buttermilk
4 Tbsp. butter, cut into chunks
3/4 tsp salt
freshly ground black pepper, to taste
1/2 tsp. garlic powder
8 pieces bacon cooked crisp and crumbled
grated cheddar cheese

Preheat oven to 400 degrees. Wash and dry potatoes. Prick each potato with a fork (so the steam can escape) and bake for one hour or until potatoes are done. You will know they are done when you can stick a knife in and they are tender. Or, if you are running short on time, prick them with a fork and cook in a microwave until tender.
Remove potatoes and let cool just a bit. Cut an opening on the top and hollow out each potato to make four servings, OR, cut each potato in half to make eight servings. You may want to hold them with a potholder as they will still be hot! Scoop out the insides and place in a bowl. Mash, and add butter, sour cream, blue cheese, milk, salt, pepper, and garlic. Beat with a hand mixer or stir with a wooden spoon until fluffy. Carefully spoon mixture back into potato shells. Place in a baking dish. At this point, you can place in your fridge for cooking later, or freeze for another day.
If baking right away, return to the hot oven and bake for 12-15 minutes. Remove and sprinkle bacon and cheddar cheese over each potato. Bake an additional 3-5 minutes or until cheese is melted and bubbly! If you are baking from the freezer, let the potatoes defrost overnight in the fridge and then cook until warmed through. If cooking straight from the fridge, increase the cooking time to 30 minutes, or until warmed through. You'll know they are ready when the cheese is melted and you can smell them throughout your whole house!

A potato has never tasted so good!


Monday, July 7, 2014

Homemade Nutella Ice Cream

I could have sworn I posted this for you guys almost a year ago, but when I looked through everything, it wasn't there. Strange. Nevertheless, today, I have the best ice cream recipe for you. It takes five minutes to throw together and since it doesn't contain eggs, there is no need to stand over the stove whisking egg yolks. And no chance for curdled ice cream. Now that's just gross. Even though there are no eggs in this ice cream, you'd never know there was no custard base. This ice cream is rich, creamy and so so good. Just ask the captain. He's already eaten half the container. Don't tell him I told you that.

This ice cream came about when I had a huge jar of nutella sitting in my pantry just begging to be used. Of course I could use it in brownies or swirled in banana bread, but it has just been too darn hot to even want to turn on the oven and heat up the whole house. Let me tell you, that is the last thing I want to do after it has been over 100 degrees for several days in a row. Since I had another huge jar of nutella in the pantry (it's one of those things I always have, but never open for fear that I will eat the whole thing with a spoon!), I knew I had to make this again and finally share the recipe with you. All you need for this fabulously easy ice cream is nutella, milk, cream, sugar, vanilla and a bit of salt. That's it. Blend it all together in a blender until smooth and let chill for an hour or two to let everything combine. At this point, you'll be tempted to just drink the mixture through a straw. And no, I did not do that. I wanted to. Trust me.

Once the mixture has been chilled and is ready to go, give it another quick blend to mix it all up again. Then, as per your ice cream makers instructions, poor the chilled mixture into the machine (I have this machine and it's great!). My machine made this ice cream in about 25 minutes or so. Yours may be faster or longer, but just keep an eye on it. If you want to add chocolate chips or anything else, make sure to do so before it gets too hard. I usually add mine when it looks like soft serve ice cream. Then you know it will mix in really well. After the ice cream is made, you can of course eat it straight from the container, but it's best to freeze it so it becomes a bit more solid. This ice cream stays rather soft, but it will firm up a bit after several hours in the freezer.

Just a warning, this ice cream is completely addictive. I kid you not. And you will probably find yourself eating it straight from the container. Don't say I didn't warn you. Also, if you don't like nutella, you can substitute your favorite peanut butter (just not that all natural stuff - the oil makes for a slippery ice cream!). It's just like the filling of a peanut butter cup. So yummy!

there is really cream in that half and half container, don't worry.

blend

pour

freeze

add chocolate chips!

Homemade Nutella Ice Cream (slightly adapted from Scoop Adventures)


3/4 cup nutella
1/2 cup  sugar
1 1/3 cups whole milk (don't skimp here and use 1% or 2%, use the real deal)
1 1/3 cups  heavy cream
Pinch of salt and a splash of vanilla extract (about 1-2 teaspoons)


Place all of the ingredients in a blender or food process and process until smooth.  Chill mixture in refrigerator for 1-2 hours. Once ice cream base is thoroughly chilled, pour base into an ice cream maker and freeze according to the manufacturer’s instructions.  Pack the ice cream into a plastic container.  Freeze until firm, at least 4 hours. Enjoy!


After this, you may find yourself never going back to store bought ice cream again!