Wednesday, March 13, 2013

Lightened Up Chicken Marsala Casserole

I am just going to say this and get it out there. My mom makes the best chicken marsala. Ever. I don't know how she does it, but she just does. It's not fried, it's not overly battered, it's just light and so so delicious. I've tried to make her version several times and although it turns out well, it's not "mom good". You know what I mean? I either put too much marsala or not enough. Or, I didn't let it simmer long enough because it always turns out more soupy than hers. Not that that's a bad thing - that's what the brown rice is there for. To sop up all those fabulous mushroom, chicken and garlic juices. It's just not the same. Hers is better. Way better. Maybe someday I'll get it right. A girl can dream, right?

One day I was searching Pinterest for some new recipes and this chicken marsala casserole caught my eye. I knew I loved chicken marsala and I love how quick and easy casseroles are, so I knew I had to try it! This dish is a Rachael Ray original and as much as I love her and her cooking, I wanted to lighten this baby up and still make it taste just as good. Her original recipe calls for heavy cream and butter, so I decided to ditch the butter and replace it with olive oil (who will ever know?!), use fat free half and half instead of heavy cream and swapped the white rice for brown rice. These few little changes make this yummy dish only 230 calories a serving, with 5 grams of fat and 16 grams of protein. And these are not little itty bitty servings either. There are eight servings in a 9x13 pan, not a 9x9 (don't you just hate when there are 16 servings in a 9x9?! I do!). Now that is a hearty serving size I can live with!

This marsala goodness could not be easier to whip up. If you are in a pinch, you can use a rotisserie chicken, but I like to cook up my own chicken breasts. In fact, if you were really savvy, you could cook up a bunch and then keep them in the freezer for a quick grab and go when you want to make something with chopped or shredded chicken. Let's just say, I'm not that savvy. I just thew the chicken breasts in the oven with a little olive oil, salt and pepper and let them cook while I prepared the rest of the dish. By the time you get the mushrooms cooked down in the marsala and all the other deliciousness, the chicken breasts are ready to come out, be chopped up and thrown into the mix. Once everything is ready, pour the sauce over the chicken and rice and bake. That's it! Super easy, super delicious and totally low calorie. Nothing pairs better with this dish than a big salad and a glass of white wine. Now that's a dinner!

pre-sliced mushrooms are the way to go

onions + garlic = love

hello brown rice

close up of the "gravy"

add in the chicken broth

pour the sauce over the rice and chicken

cooked and ready to enjoy. yum!


Lightened Up Chicken Marsala Casserole (slightly adapted from Rachael Ray)

2 tablespoons olive oil
1 small onion, diced 

5 garlic cloves, minced 
16 ounces mushrooms, sliced (I used crimini, but use button if you like them!)
1 1/2 tablespoons flour
1/2 cup marsala wine (or white wine)
1/2 cup fat free half & half (low fat milk will work here too)
2 cups low-sodium chicken broth or stock

1 teaspoon salt
1/4 teaspoon black pepper
1 cup brown rice, uncooked
2 packed cups coarsely chopped cooked chicken

1/4 cup chopped fresh parsley
2 tablespoons grated parmesan cheese


Preheat the oven to 375°. In a large skillet, heat the butter and oil over medium-high heat until just melted. Add the onions and mushrooms and cook, stirring occasionally, until softened, about 5 - 7 minutes. Add the garlic and season with salt and pepper.  Sprinkle the flour on top and stir in for 1 minute. Stir in the marsala and cream and simmer, stirring occasionally, until slightly thickened, about 3 minutes. Stir in 2 cups of broth/stock. 

Spray a 9-inch-by-13-inch casserole with non-stick spray and spread the rice in an even layer. Top with the chicken, pour the mushroom gravy on top and sprinkle the parsley over everything.Cover tightly with foil and bake until bubbly, about 45 minutes. If your rice still is not cooked at this point, turn the oven up to 400 and bake until rice is fully cooked. Remember, brown rice takes longer to cook (if you use white rice, cook the whole dish at 350 degrees for 35 minutes). Discard the foil, sprinkle the parmesan on top and bake for 5 minutes more. 


Casseroles are no longer a thing of the past!


Tuesday, March 12, 2013

No Butter & No Flour Chocolate Crinkle Cookies

I know what you're thinking - no flour and no butter, how can this cookie even be good? Is it even a cookie? Well, let me just tell you, these cookies are AMAZING. They are rich, they are chocolatey, they are fudgy and the best part, they are only 75 calories each! Can you believe it? I was a little skeptical at first because most of the time, lower calorie cookies or treats I try to make don't even taste like they say they will (I know you know what I am talking about here), but these were beyond delicious. Like so good you can't believe they are under 100 calories good. No joke. Even the captain even gave them two thumbs up so you know they must be good!

There is one thing I learned during testing this recipe that I must must must share with you. When I first made these, I whipped the egg whites and then added in the powdered sugar like the recipe said to. Once it mixed for a bit, it looked like marshmallow cream. Again, like the recipe said. I continued to add the ingredients, but for some reason, my batter was not stiff like it said it should be and it really resembled cake batter more than anything. Strange. I though maybe it just needed to mix more. So, I cranked my stand mixer up, but that didn't thicken it up. Dang it. There was something wrong and I was determined to figure it out. I headed back to the store to get more chocolate chips and attempt these cookies again. I was not about to let them defeat me and they looked far too yummy to give up on the first try. So, I separated the eggs again, whipped them up and added the sugar. This time, I thought maaaaaaybe I should let everything whip until the texture was like marshmallow cream instead of looked like marshmallow cream. Maybe I misunderstood the directions the first time, but this seemed to do the trick! The dough turned out super thick and could be rolled into balls instead of being like cake batter. So, when you go to make these, make sure to whip your egg whites and whip them good (you know, like the song?)!

These cookies are the perfect little sweet treat when need something to cure that chocolate craving, make you feel like you are being oh so bad, but will not fill you up with hundreds and hundreds of calories. To be honest, sometimes I even have two. I try not to, but sometimes a girl just needs two cookies! Come on now - two fabulous cookies for only 150 calories? Now that's what I am talking about! Oh and for those doing Weight Watchers and are curious about points, these are three points a cookie (the new points, not the old points). Now what are you waiting for, get in your kitchen and try these cookies today! You won't regret making them. In fact, these may just become your next favorite cookie and you'll ever miss the butter or flour, guaranteed!


chocolate chips are my weakness

dry ingredients. no flour here!

mmm, melted chocolate

soft peaks

add in the pow sugar and whip it good!

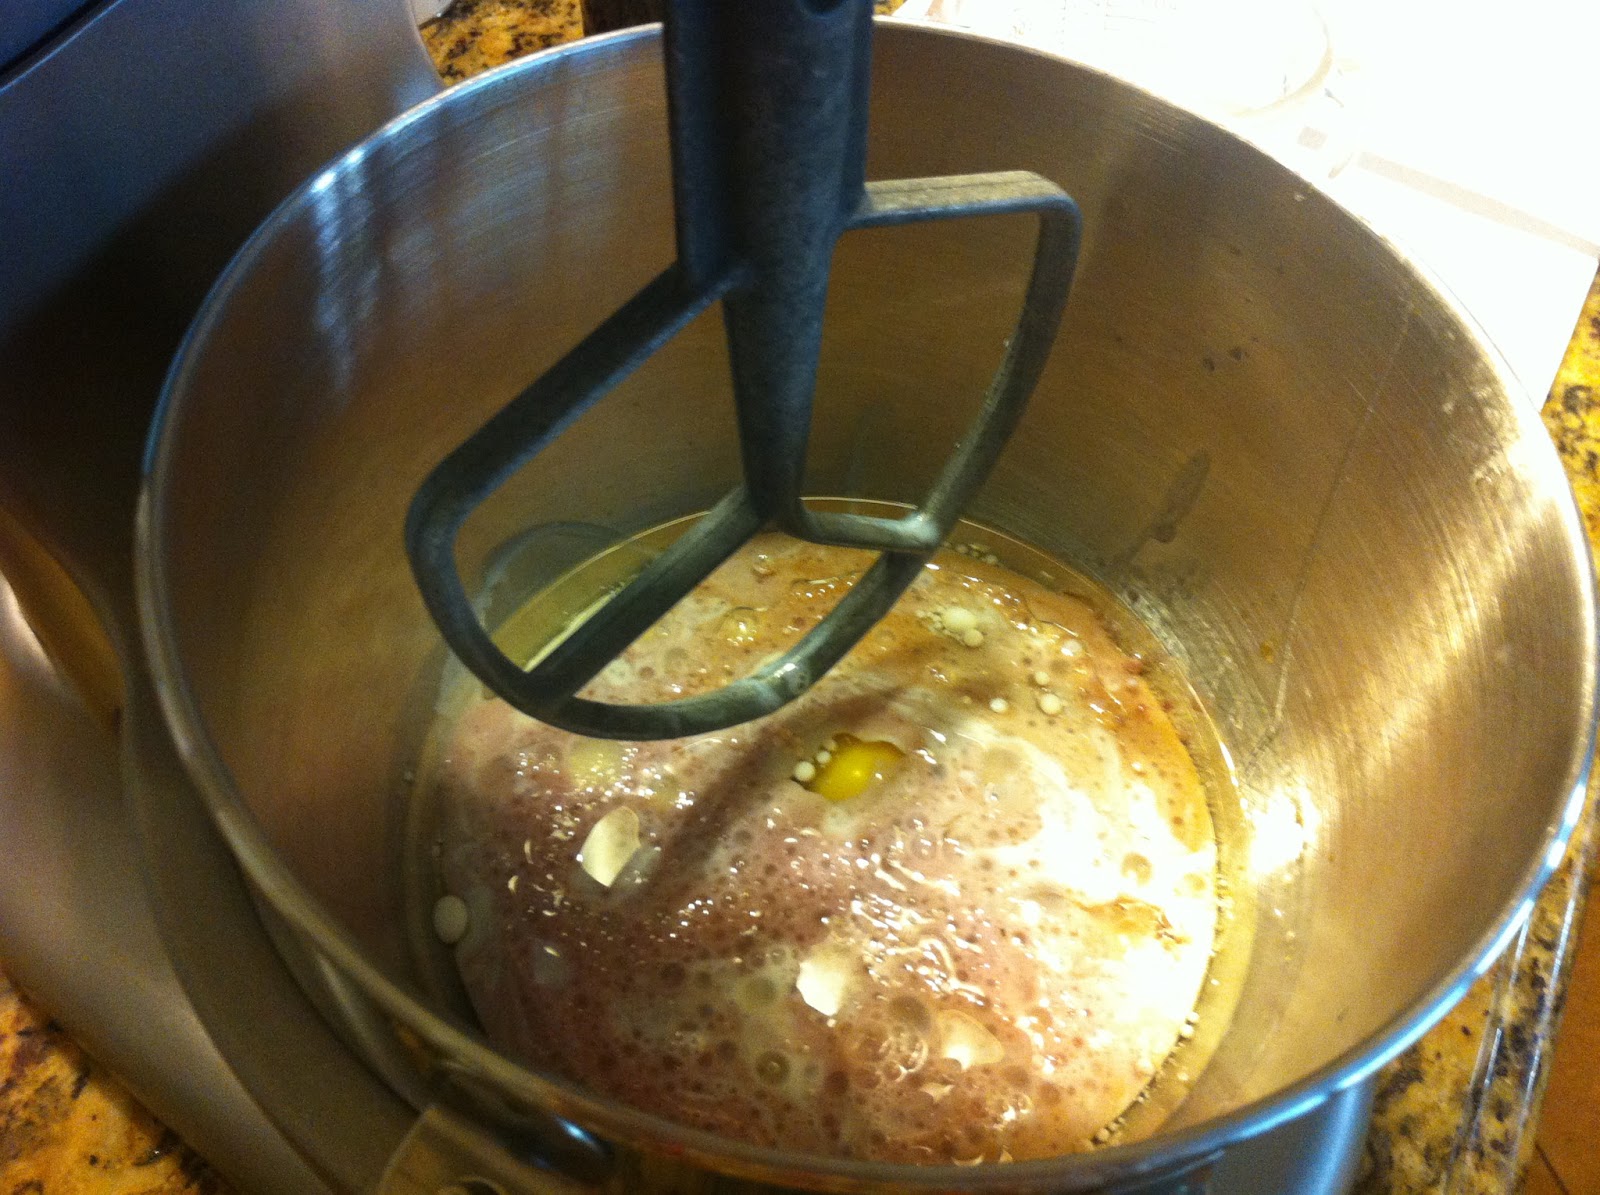
this picture was from my first failed attempt. remember to change to the paddle attachment before adding the dry ingredients and chocolate!

roll the dough into balls and coat with the sugar

before...

...after!


No Butter & No Flour Chocolate Crinkle Cookies (slightly adapted from Picklee)

*Makes about 24 cookies


Nonstick vegetable oil spray
1 1/2 cups bittersweet chocolate chips (about 9 ounces)
3 large egg whites, room temperature
2 cups powdered sugar, divided (plus 1/2 cup for cookie coating)
1/2 cup unsweetened cocoa powder
1 tablespoon cornstarch
1/4 teaspoon salt

Preheat oven to 350°F. Spray 2 large  baking sheets with nonstick spray. Melt 1 cup chocolate chips in glass bowl in microwave, stirring twice, about 2 minutes. Cool slightly. Using electric mixer, beat whites in large bowl to soft peaks. Gradually beat in 1 cup of the powdered sugar.  Continue beating until mixture resembles soft marshmallow cream - thick and rich, about 10 minutes.

Whisk 1 cup sugar, cocoa, cornstarch, and salt in medium bowl to blend. Using your paddle attachment, on low speed, add dry ingredients into meringue mixture. Mix lukewarm chocolate mixture and 1/2 cup chocolate chips (dough will become very stiff). Place 1/2 cup sugar in bowl. Roll 1 rounded tablespoon dough into ball. Roll the balls in the sugar sugar, coating thickly. Place on prepared sheet. Repeat with remaining dough, spacing about two inches apart.
Bake until puffed and tops crack, about 10 minutes. Cool on sheets on rack 10 minutes. Transfer to rack, cool and enjoy!


These super yummy cookies are sure to please just about anybody! Rich and fudgy yummy yummy!

Friday, March 8, 2013

Homemade Peanut Butter & Banana Dog Treats

I just don't bake for humans. I also bake for doggies. But let's make one thing clear, I don't have a doggie. I want a doggie. Like really badly. Really really badly. I think I am starting to sound like a Taylor Swift song. Oh wait, was that mean? Oops. The captain and I have plans to get our doggie from the pound someday (hopefully soon!) and once we do, I am sure he or she will become very frequent on my blog in pictures and in name. And even better, I can wait to make these fabulous and healthy yummy doggie treats for them.

I first made these doggie treats for a special treat for the captain's mom's doggies, Annie and Maggie. Annie has a food allergy, so I wanted to make sure I made these snacks something that wouldn't bother her tummy or make her sick. So, you'll be happy to know that these treats are also gluten free, dairy free and wheat free! Plus, they are only made with minimal ingredients - gluten free oats, oat flour (I bought gluten free), natural peanut butter (not the kind with oil, but fresh ground!), parsley, egg and banana. If you are not going for the whole gluten free thing, regular oats and oat flour will do just fine here. These treats are easy to whip up and bake up in just about 40 minutes. They smell so good while they are baking! Once they are golden brown, they are are good to go. Just make sure to let them cool before you feed them to your pooch. You don't want to burn that tongue! The bonus to these treats is that they are full of breath freshening parsley. Not only do doggies love the peanut butter part, but the bonus is that the treats also freshen their breath! That is a secret you don't need to tell Fido.

These treats will last up to a week in the fridge or if you want to make a large batch, you can keep them in your freezer and pull them out when you want to have treats on hand. Just make sure to defrost them so there is no teeth breakage. Now that would be an expensive vet bill!


mmm, peanut butter

whip that banana. whip it good.

add the oat flour
look at that breath freshening goodness

mix in the parsley

roll dough into balls and flatten

bake until golden brown!


Homemade Peanut Butter & Banana Dog Treats (Whole Foods Recipe)


1 banana, peeled
1 cup oat flour
2/3 cup rolled oats
1/2 cup dried parsley
3 tablespoons peanut butter (I grind my own, either at the store or at home. Just don't get the peanut butter with all that oil on top - that just won't work)
1 egg, beaten 
Preheat oven to 300°F. Put banana in a large bowl and use a spoon or potato masher to mash it thoroughly. Add oat flour, oats, parsley, peanut butter and egg and stir well to combine. Set aside for 5 minutes.

Roll mixture into 24 balls, using about 1 tablespoon dough for each; transfer to a large parchment paper-lined baking sheet as done. Use the back of a spoon or the heel of your hand to press each ball into a (1 1/2- to 2-inch) coin. Bake until firm and deep golden brown on the bottom, 40 to 45 minutes. Set aside to let cool completely. 
*note - if you are going for gluten free here, make sure to buy gluten free oats (you can find these at Trader Joes) and gluten free oat flour (can be found at most stores in the baking isle). 
woof, woof!
   

Thursday, March 7, 2013

Raspberry Red Wine Chocolate Layer Cake

Raspberry red wine chocolate cake. Yes. I went there. I soooo went there.

This cake was for the captain's mom's birthday this last weekend. To make her birthday a little extra special, we decided to make a weekend trip down to the central coast to pay her a little visit. The weekend went by waaaay too fast, as it always does, but we did get in some time to go to the beach with her, enjoy a great lunch and a bottle of wine at one of the local wineries as well as have a birthday BBQ with the rest of the family. It's always a such a great time when we to go visit her and see the rest of the captain's family, but to be honest, every time I go down there, I always feel like I leave a little bit of my heart there. You know how Tony Bennett sings about leaving his heart in San Francisco? I feel the same way about San Luis Obispo. Once you make it your home for four great years during college and have all those amazing memories, it's hard not to get a little emotional every time you have to leave. I don't think that part will ever change.

Okay, enough sappiness and back to cake! A birthday is not complete without a super special birthday dessert. At least that's the rule in my book. Now, the captain's mom loves chocolate as much as he does (or maybe it's the other way around!), but they both know I just couldn't do a plain chocolate cake. Let's be real here. As the captain say, "you, a plain cake?!". He's right though. I just can't do it. I mean, I can do it, but I want to challenge myself and make a special cake. Special people deserve extra special cakes. Again, another rule in my book. So, when I saw a recipe for a red wine chocolate cake, they had me at red wine and I knew I had to make it. I have had my eye on a red wine chocolate cupcake for a while, but have yet to get around trying it. When I saw this recipe, I knew this would be the perfect cake for the captain's mom. Plus, how perfect do red wine and chocolate go together? They go together like peas and carrots. Or peanut butter and jelly. Ooh a pb&j cake. Now that's good idea. I better add that to the to-do list.

The original cake recipe called for blackberry wine and blackberry preserves. I don't know about you, but blackberry wine is not something that is easily found around these parts. If it is for you, that's great, but don't fret if you can't find it. Regular ol' red wine will work just fine! Just remember if you won't drink it, don't cook with it. Seriously. If your wine tastes like like feet, why would you want to use it in your cooking? Gross! Since I couldn't find blackberry wine, I decided to pair my red wine selection with raspberry preserves. You could of course use blackberry, but there is just something about raspberry and chocolate that is just as good of a combination as chocolate and red wine. This cake seems like it would be complicated to make, but trust me, it's not as hard as it seems! And if you are like me and only have two 8-inch cake pans and a bazillion 9-inch cake pans, do not go running to the store. You can use your 9-inch pans here. Just make sure to reduce the time to about 20 minutes or so, but keep an eye on the cakes starting at 15 to make sure you don't over bake. Since the layers are a bit thinner than if you were to use an 8-inch pan, they will cook up a little faster. 

The ooberly delicious cake bakes up moist and tender and then is layered with raspberry preserves, vanilla bean butter cream (I had extra vanilla beans on hand so I went ahead and used them. If you don't, vanilla extract will be just fine here and be just as yummy!) and then topped with a layer of chocolate ganache. Yes, you heard me, ganache. To take it over the top delicious, I also covered the top of the cake in raspberries. Why? Why not! This part is not necessary, but because I found a killer deal on fresh raspberries, I had to do it. This cake was the perfect way to say happy happy birthday to the captain's mom!

ingredients

the wet ingredients

sifting those dry ingredients to prevent lumpies

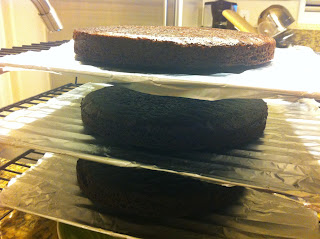
cooling

add a thin layer of preserves

close up of the vanilla bean buttercream. can you see the flecks?

let the layering process begin

prepping the glaze

finished product ready for the birthday girl!


Raspberry Red Wine Chocolate Layer Cake (adapted from Love and Olive Oil)

For cake:
2 cups sugar
1-3/4 cups all-purpose flour
3/4 cup dark or dutch-processed cocoa powder
2 teaspoons baking soda
1 teaspoon baking powder
1 teaspoon kosher salt
2 eggs
1 cup buttermilk
1 cup red wine
1/2 cup light olive or vegetable oil
2 teaspoons vanilla extract

For frosting:

2 cups (4 sticks) unsalted butter, softened
3 3/4 cups powdered sugar, sifted
1/4 cup heavy cream
2 teaspoons vanilla extract (if you have vanilla beans, use the vanilla caviar from two beans)
1/4 cup raspberry preserves

For chocolate glaze:

3.5 ounces dark chocolate, chopped
2 tablespoons heavy cream
4 tablespoons powdered sugar, sifted
4-5 tablespoons warm water


Preheat oven to 350ºF. Butter or spray non-stick spray and line three 8-inch round baking pans with parchment paper.

In a large mixing bowl, combine the sugar, flour, cocoa, baking soda, baking powder, whisking until thoroughly combined. Add eggs, buttermilk, wine, oil, and vanilla and beat with an electric mixer on medium speed until all dry ingredients are incorporated. Divide evenly among prepared pans.

Bake for 28 to 35 minutes (start checking early to avoid over cooking! Also, if using 9-inch pans, start checking at 15 minutes!) or until a toothpick inserted in the center comes out clean. Remove from oven and place on a wire rack until cool enough to handle. Run a small knife around the edges of each pan, then gently invert onto wire racks. Cakes should come out cleanly. Allow to cool completely.

To prepare frosting, in the bowl of a stand mixer fitted with the paddle attachment, beat butter on medium speed until very pale and creamy, about 8 minutes. Add powdered sugar, a little at a time, mixing well after each addition. Add cream and vanilla extract and beat until light and fluffy, about 6 minutes more. Add more cream or powdered sugar as needed to achieve desired consistency.


To assemble, level each cake layer by cutting of the domed top with a long serrated knife. Place one layer, flat side down, on a cake stand or serving platter. Spread half of the blackberry preserves evenly on top, followed by approximately 1/2 cup of buttercream. Position second layer on top and press to adhere. Repeat with remaining preserves, another 1/2 cup of buttercream, and final cake layer, flat side up.

Cover the entire cake with a thin layer of buttercream. This "crumb coat" will make frosting the cake easier. Refrigerate for about 15 minutes to allow this crumb coat to set. At this point if you will be coloring the remaining buttercream, add your food coloring to the mixing bowl and beat until color is uniform. Remove cake from refrigerator and frost with remaining buttercream, reserving some for piping decorative details if desired. Return cake to the refrigerator for at least 30 minutes.


Meanwhile, to prepare the glaze, place chopped chocolate and heavy cream in a double boiler or a heat-proof bowl set over a pot of simmering water. Stir until melted and smooth. Remove from heat and whisk in powdered sugar, stirring until smooth. Add water 1 tablespoon at a time, whisking well after each addition, until the chocolate is of a good pouring consistency. Let cool 10 to 15 minutes or until lukewarm. Pour glaze slowly on top of chilled cake, spreading to edges with an offset spatula, allowing the chocolate to drip over the edges. Continue pouring until desired drizzle effect is achieved (you may not use the entire amount). Top with fresh raspberries (optional) and then chill until set.


red wine + chocolate = love


Wednesday, February 27, 2013

Strawberry & Dark Chocolate Pocket Pies

Happy national strawberry day everyone! Bet you didn't' know there was a national day for the strawberry, now did you? Now that you know, what better way to celebrate this berry delicious day than with a pie you can hold in your hand! Pie on the go? Now that's what I'm talking about!

I first made these cute little pies back on Valentine's day. Back in January I found this irresistible heart pie contraption at Target and had to get it. Dang you Target! To be honest, I forgot I even bought it until a day before the day of loooove. That's what I get for buying things ahead of time and then forgetting where I put them. Ya, I do that a lot. Even though I forgot about my little heart pocket mold, that didn't stop me from running to the store to get my ingredients and making a little something extra special for my colleagues at work as well as the captain. I am really not that into valentine's day, but a little something sweet is never a bad thing, right? Especially when it's strawberries and chocolate. And pie. Pie, pie, pie, pie.

To make these pies, you don't even need a heart mold or any mold for that fact. You can just use your knife to cut out rectangles, or you can even do circles and make half moon pies. Or triangles. Ooh, triangles would be fun. No matter what shape you use to make your pies, they will still taste fabulous. These pies are a piece of cake to put together. Wait, a piece of pie. That just sounds weird, but you know what I mean. All you need is pie crust, berries, a little sugar, dark chocolate, cream, cornstarch and an egg. Nothing too crazy, right? Plus, you probably already have many of these ingredients in your pantry and fridge! You can use store bought crust if you are in a pinch, but if you have the time, homemade is the best and I have the best pie crust recipe for you to use. It's so easy and to delicious. A little salty, a little sweet. It's perfect. Check it out here. It's seriously fool poof and you can make them ahead of time and keep in the freezer for tons of recipes. I always have some on stock ready to go!

Once you have the shape you want cut and ready, you will fill the pie with the berry/sugar/cornstarch mixture and then top with a little dark chocolate. I used dark chocolate chips here for the ease of things, but you can always just chop up your favorite dark chocolate bar too. Once the pie is filled (don't fill it too too much or it may explode!), rim both the edges on the top and bottom with a little cream and seal the pie - either with your mold or a fork. Just make sure to seal the pies really well! You don't want all that goodness oozing out do you? Brush with the egg mixture for a little shine, use a fork to prick a few holes to let the steam out and then sprinkle with coarse sugar. These little pockets of joy bake up in just about 15 minutes and make your house smell amazing while they are in the oven. Who doesn't love the smell of fresh pie?! Serve these little pies by themselves or take them to the next level and serve them with a scoop of ice cream. No matter what way you enjoy them, I am willing to bet that you will fall in love with this fun sweet treat!


pie pocket making station!


filling the pie mold


for some reason, I put the cream on before the filling. Guess it really doesn't matter when you do it as long as you do it!
crimp and don't forget to prick!
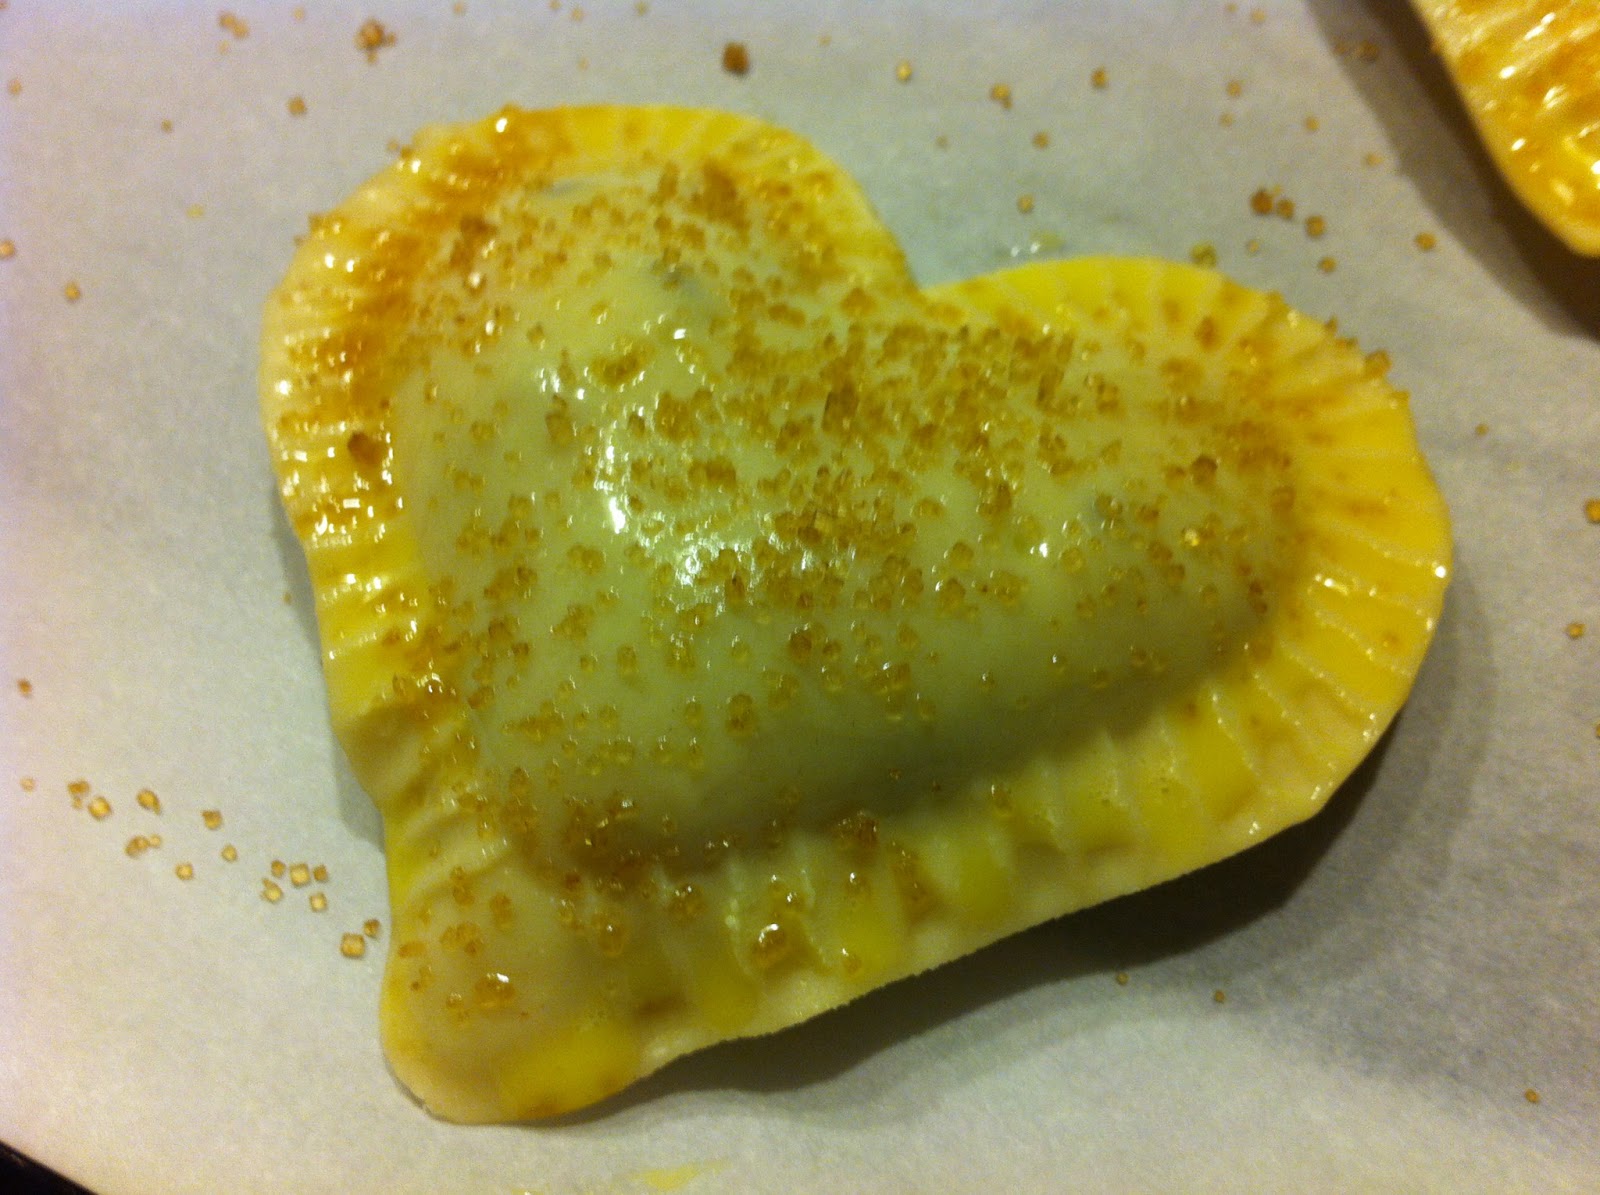
eggy wash and sugar to make them look pretty
ready to bake
fresh out of the oven and smelling amazing. don't worry if they ooze a little.

Strawberry & Dark Chocolate Pocket Pies (slightly adapted from Two Peas and their Pod)

For the Pie Dough:
Store bought or my perfect pie crust recipe

For the Filling:
2 cups chopped strawberries
1 tablespoon granulated sugar (or more depending on sweetness of berries)
1 teaspoon cornstarch
1 cup chopped dark chocolate
2 tablespoons heavy cream 


Finishing Touches:
1 large egg, beaten
1 tablespoon water
Coarse sugar, for sprinkling on pies


Preheat oven to 400 degrees F. Line two baking sheets with parchment paper or a Silpat baking mat. In medium bowl, combine the strawberries, sugar, and cornstarch. Stir until strawberries are well coated. 

Remove the pie dough from the refrigerator. Place one of the disks on a lightly floured work surface. Roll into a square about 1/8-inch thick. Cut the dough into 4 equal pieces, about 5x5 squares. If you are not cutting your pies and using a press, use the mold from the press to make your pieces (this may make more or less depending on the size of your mold). Spoon about 2 tablespoons of strawberries into the center of each square, then top with about 1 tablespoon of chopped dark chocolate. Brush the edges of the pie with the heavy cream. Bring opposite corners together and press the edges together. Use a fork or pocket pie press to crimp the edges of the pie.

In a small bowl, combine the egg and water with a fork. Brush the top of the pie with the egg wash and sprinkle generously with coarse sugar. Repeat with the remaining squares of dough. Roll out the second disk of pie dough and do the same. Transfer the hand pies to the prepared baking sheets. Using a form, prick a small vent or two in the top of each pie. Bake for 15-18 minutes, or until the pies are golden brown. The filling may bubble out a bit and that's ok. Transfer to a wire rack and allow the pies to cool completely.


You can never go wrong with chocolate and strawberries!

Monday, February 25, 2013

200th Post - The Best Bran Muffins EVER!

Before I even begin to tell you about how amazing these bran muffins are, I first must tell you that this is my 200th blog post. I can't believe it! Have I really blogged 200 times? Whoa! When I hit my 100th post, I dedicated it to my amazing mom. Without her, I wouldn't know what the heck to do in the kitchen. No joke. There are still some things that she makes that I can make as well, but they just taste better when she makes them. I don't know what it is, but I am guessing it's just mom love. Ya, that must be it. For this 200th post, I dedicate it to my health. Since my 100th post, I have changed my eating and workout habits for the better. I'm down 35 pounds (and still going!) and I now have learned to enjoy working out and getting into running and kickboxing. Me, running? Ya, right. But in all seriousness, although it's tough, I do enjoy it. Never did I think those words would come out my mouth. Nevertheless, with my working out and adapting recipes, I have come to learn that healthy does not have to mean flavorless or tastes bad. Now, don't get me wrong, I still love to bake and cook the not so good for you stuff, but it's all about moderation. The captain keeps telling me that and I think it's starting to finally stick. He's pretty smart.
Okay, back to the muffins. THESE MUFFINS ARE AMAZING. I know when you think bran muffin, you think dry and gross, but these are totally the opposite. These muffins are loaded with dried fruit, honey, coconut, nuts, applesauce and bran. Lots of bran. Tons of fiber, tons of flavor and so delicious. The best part, is that they are under 145 calories each! Since I started making these, I have been eating one for breakfast and one for a snack in the afternoon. Oh, and I forgot to tell you- there are no processed sugars and no dairy in these muffins! How many other muffins can say that? You can always use any milk of your choice, but to keep the calories down and to keep it dairy free, I use unsweetened almond milk. You don't even know it's there, promise! These muffins bake up quick and are so moist from the honey and applesauce that you won't even miss the oil that is usually in muffins. Darn those 500 calorie muffins that look healthy, but are loaded with oil and sugar.

These muffins so good that I usually make a double batch and freeze half of them for the next week. They freeze great in a big ziploc bag. But, to make sure you don't get bored with them (there is no way you could!), I have tried out several variations on this muffin recipe. The original recipe called for fresh blueberries, but since the captain is anti-blueberry, that was a no no. So, I decided to go with dried cherries. You can always do fresh blueberries, but I love cherries and after doing the calorie count of 12oz of blueberries, I was able to determine that a heaping 1/2 cup of chopped dried fruit was about the same! Here are some of the combinations I have done so far and some that I can't wait to try:
  1. Dried cherries and walnuts - this one is my favorite!
  2. Dried apricots and pecans - this is my mom's favorite. The chewy apricots give it a little something something.
  3. Chopped apples, walnuts and cinnamon - this one reminds me of apple pie and the apples keep the muffins extra extra moist.
  4. Carrots, raisins, cinnamon and walnuts - I can't wait to try this one. Hello carrot cake!
  5. Zucchini, cinnamon and walnuts - I can't wait to try this one either. It reminds me of zucchini bread.
As you can see, the list of combinations is endless! Use whatever nuts and dried fruit you like. Or leave the nuts or fruit out if you want, but trust me, it's better with them. Unless you are allergic - that wouldn't be such a good idea to eat them then. Experiment and find out what you love and get addicted to these muffins! If I did, I know you will too. You won't ever say no to bran muffins again.

yummy ingredients

if you spray non-stick spray on your measuring cup, the honey will slide right out!

pouring in the milk and vanilla

this is wheat bran. you can find it in the cereal section or the baking section. I usually find it in the cereal section next to the oatmeal.

mmm, dried cherries. the first time I left them whole, but they are better chopped a bit.

exactly 16 muffins - that rarely happens!

bran bran bran muffinssss

The Best Bran Muffin Ever (adapted from SkinnyTaste)

1 cup wheat bran
1-1/2 cups whole wheat flour (white or regular whole wheat will be just fine)
1/3 cup sweetened shredded coconut
1/4 cup chopped walnuts
1 tsp baking powder
1 tsp baking soda
1 cup unsweetened vanilla almond milk (or skim is fine)
1/2 cup honey
1 tsp vanilla
3/4 cup unsweetened applesauce
2 tbsp coconut oil (or canola)
2 large eggs, beaten
12 oz fresh fruit or a heaping cup of your favorite dried fruit, chopped


Preheat oven to 400°F.  Line a muffin tin with 16 liners.

Combine the wheat bran, wheat flour, baking soda and baking powder. Stir in nuts and coconut.
In a separate bowl, blend applesauce, almond milk, honey, coconut oil, vanilla and egg.  Add to dry ingredients and stir just until moistened. Fold in fruit. Scoop the batter into paper-lined muffin cups and bake for 13-14 minutes (may take up to 18-20 based on your oven), or until a toothpick inserted comes out clean.

Bran muffins usually get a bad wrap, but not anymore!