Monday, September 26, 2011

Homemade Strawberry Ice Cream

A couple of weeks ago, I had a ton of fresh strawberries in my fridge to use and had no idea what to make with them. Of course I could make bread or muffins with them, but I make breads all the time and I wanted to do something different. I could make a smoothie, but I make those a lot and have a stash in my freezer to make smoothies with. After looking through a few cookbooks, it finally came to me - fresh, homemade strawberry ice cream! I already had half and half and cream in the fridge from another recipe, so this was perfect.

This recipe starts out with a simple tart, yet sweet strawberry puree that I have used in recipes before. Specifically the recipe here, strawberry champagne cupcakes. You can find the recipe there. Even better, this puree is great for topping your ice cream with, on pancakes, or by the spoon full.  I now just realized it would probably be good in cocktails too. Ooh, yum. It also freezes well, so if you have a ton of berries, make a big batch and freeze it for later!

The recipe is super easy to make, but there are a few steps. First, you start by making the custard. Trust me, this is easier then it sounds and it makes the ice cream so rich and creamy. You whisk the yolks in a stand mixer (or by using a hand mixer) until they are light and fluffy. Then, you heat up the half and half. Slowly add the warmed milk to the yolks and then transfer over to a double boiler (see picture below) and cook until the mixture is nice and thick. This takes about 10 minutes or so.  My tip for this step is to wear a pot holder while you are stirring the mixture - sometimes the steam comes out and burns the hands. Ouchy. Just make sure you keep stirring and don't stop until it's thick. No scrambled eggs wanted here. If you are worried you might have a few lumps, you can strain through a fine mesh strainer to catch anything. Don't worry, it's happened to me and this saves you from lumpies in your ice cream.

Once the custard has been made, add in the puree and make sure you cool the mixture until very cold. This will take a couple of hours at least, but if you can let it go overnight, that is even better. Just make sure it's cold. That's the most important thing. Let me tell you, this is worth the wait though. So fruity, so creamy and well worth the stomach ache after (hello lactose intolerance!). This would be the perfect dessert for a warm summer night, but you don't need a summer night to enjoy this one. It's a classic flavor that is always great to have on hand.

This custard is a great base to create your favorite flavor combination - cherry, blackberry, raspberry. Whatever fruit is in season, blend it up and swirl it in. Even better, top it off with some reserved puree for an extra boost of flavor on top. Delish!


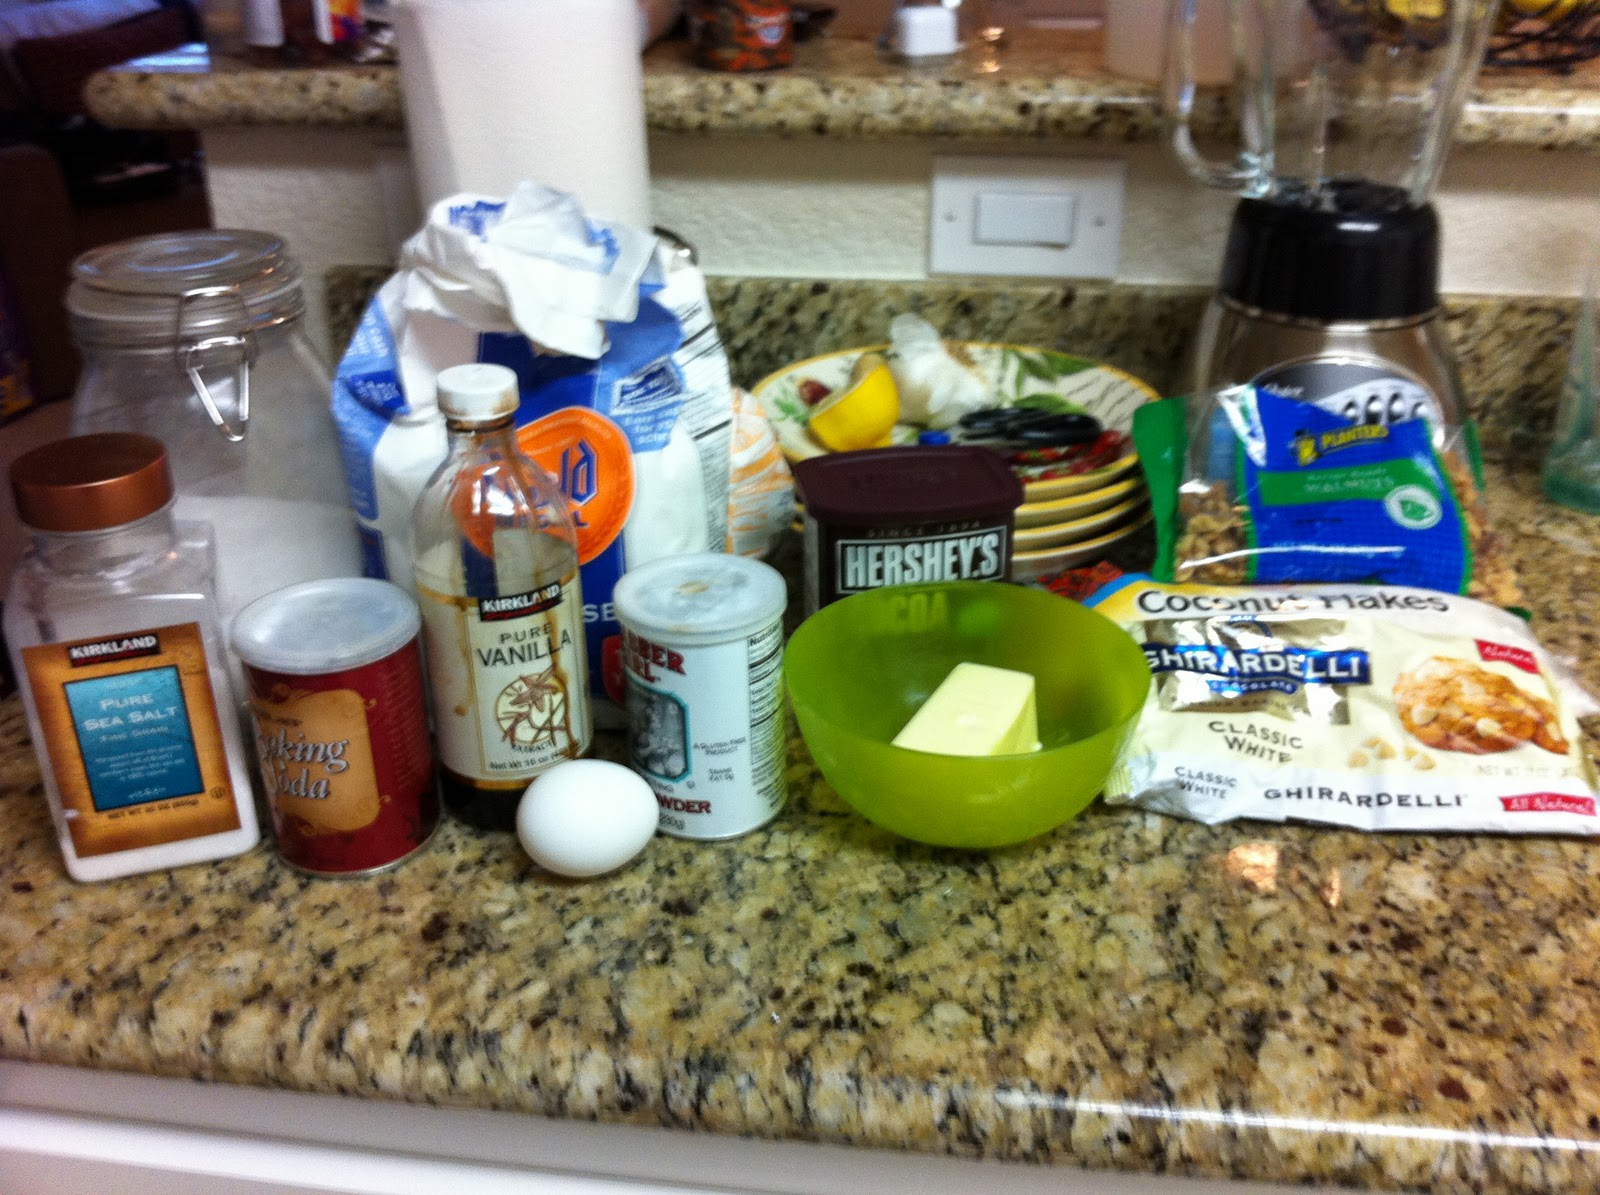
only a few ingredients for this one

yolks!

double boiler. If you have a glass bowl, you can use one. I only have metal and it gets hot, so be careful!

stirring that custard!

strawberries blending for puree

stirring the puree into the warm custard

ice cream churning and smelling so good!

Homemade Fresh Strawberry Ice Cream (joyofbaking.com)

2 cups half-and-half
5 large egg yolks
2/3 cup sugar
1 1/2 teaspoons vanilla extract
2/3 cup strawberry puree 

Directions:

In a small saucepan, over medium-high heat, bring the half-and-half and the vanilla bean (if using) to the scalding point (the milk begins to foam up). Remove from heat and add the vanilla. Meanwhile in a stainless steel bowl beat the egg yolks and sugar until light and fluffy (about two minutes). You can do this with a wire whisk or I like to use a stand mixer. Gradually pour the scalding half-and-half into the whipped egg yolk mixture, making sure you keep whisking constantly so the eggs don't curdle. If any lumps do form, strain the mixture first before heating.

Place the bowl over a saucepan of simmering water and, stirring constantly with a wooden spoon, cook until the custard thickens enough that it coats the back of a spoon (170 Degrees F). The term 'coat a spoon' is a technique used mainly as a way to test when an egg-based custard or sauce is done. A spoon, usually wooden, is placed in the custard and, when the spoon is raised, the film of custard on the back of the spoon will stay in place even when you draw a line with your finger through the middle of the custard. Immediately remove the custard from the heat and continue to stir the custard for a few minutes so it does not overcook. 

At this point stir in the vanilla extract if using. Stir in the strawberry sauce (puree). Cover and let cool to room temperature and then refrigerate the custard until it is completely cold (several hours but preferably overnight).   Transfer the cold custard to the chilled container of your ice cream machine and process according to the manufacturer's instructions. Once made, transfer the ice cream to a chilled container and store in the freezer.  If the ice cream becomes too hard, place in the refrigerator until softened.

Scoop and enjoy!

Eat Drink and Be Merry!

I keep talking about cookies and vacation and you all are probably wondering where the heck we went on vacation!

Last year was my first Gorge and Dave Matthews Band experience. And let me tell you, it was AMAZING. I have seen Dave before, but the seeing them at the Gorge is an experience you must have if you ever get the opportunity. The sunsets are beautiful and the music is awesome. How much better can it get with an outdoor venue overlooking the Columbia River with wind turbines in the background? Not much.


See, told you it was beautiful. Needless to say, we started off our trip with a flight to Oregon to see Ryan's Dad and Barb. Hi Dean and Barb! Oh, wait. I didn't tell you. Ryan is a pilot, so he flew us up and down the pacific northwest that week. How cool, right? Super cool. Side story - the first time he ever took me flying this girl got sick. Not just a little, ALL OVER. Totally embarrassing right? I took Dramamine thinking it would work, but boy was I wrong. I think it made it even worse. Needless to say, after that flight (I don't even think we were in the air five minutes!), I went to see my doctor and she perscribed me these patches you wear behind you ear. Let me tell you, they are a miracle! I don't feel anything and my stomach hasn't hurt yet. Knock on wood! Yes, they give you dry mouth and make you kinda woozy, but it's well worth the other stuff that can happen. Motion sickness is awful, and hopefully you don't have it like I do. It's the worst.

Okay, enough of that, back to vacation. So, we went up to Oregon for a day, spent the night and then got up super early the next morning to make the next flight up to Quincy, Washington. We made it safe and sound, got to the campground and set everything up. It was defintely warm the few days were were there, but it was a nice change from the year before where it was quite chilly. The campground is about a mile away from the venue, but they have a bus that takes you to and from, so that is really nice. The campground has a little cafe with pretty good food, the showers are usually hot (I had one super hot shower and one freezing shower) and they clean the port-a-potties throughout the day, so they are pretty clean. This year I realized that if I got up early enough, I could get a hot shower and a freshly cleaned port-a-potty. I'm the crazy girl who got up at 6:30 am to shower. Well worth it if you ask me.

That Friday, Saturday and Sunday, we thoroughly enjoyed ourselves from camping, to hanging out with some awesome people and best of all, rocking out every night to Dave Matthews The weather was perfect and you didn't even need a light jacket or sweater until you were walking back to the bus at 11pm. This year was not just Dave, there were other bands playing throughout the day, which was really cool. You could go see a few bands, go back to the campground to grab a bite to eat and then head back to see Dave. There were a lot of bands, and we needed up seeing TR3, John Butler Trio, The Roots, Dispatch and we even saw an acoustic Dave and Tim set too. All awesome and all great, but they always saved the best for last - DAVE MATTHEWS BAND! They played my favorite song, Grey Street, and well, honestly, they played a lot of my favorite songs. But, Grey Street is my all time favorite. We got close to the stage, rocked out, sung out loud had a great time.

listening to a little John Butler Trio before Dave came on!

night one!

night three. Guess I forgot to take a picture of night two. oops.

encore during night three - we escaped the crowed to use the bathroom before our hike back to the buses.

Nothing like 20,000+ fans to get you in the mood! Everyone is super nice and usually pretty good to deal with - there are always those really drunk people, but for the most part, people are fine. Well, there was the super super drunk guy who decided to relive himself next to me on night three. GROSS. Other then that, they are all nice, I promise. After three days of Dave and camping, it was time for us to head back to Oregon for a few more days of vacation and relaxation. We loaded up the plane and headed back to Oregon. My favorite part of the flight is seeing all the wind turbines. You should see how many pictures I took of those things. Here are a few pictures from our flight!

Mt. Shasta on our first leg to Oregon

ooooh ahhhh pretty

flight from Washington to Oregon. Look at all those turbines. They were EVERYWHERE!
 We got back to Oregon and spent a few days there. It was great to finally take a real shower and relax for a few days. Ryan worked his booty off doing things around the house while Barb and I went into Bend and wandered around Sisters. It was such a great time and I always enjoy going to visit them. I love Oregon, it just smells good up there. I don't know what it is, but it just really smells fresh and piney. Is piney even a word? Well, it is now. I did get a head cold while I was up there and was kinda out of commission for a few days, but that didn't stop us. Our last night in town we went to this super cute restaurant out in Camp Sherman called Kokanee Cafe. Right along a river and the food was good. I had cedar planked salmon with grape risotto. The risotto sounds funny doesn't it? But adding fresh grapes into it added this subtle sweetness that was just right. So good. I thought that since I could taste my dinner that I would be able to taste some of Ryan's super peanut butter and chocolate dessert. Nope. Nothing. Maybe a hint of chocolate came through, but that's about it. Darn. It sure was pretty though.

kinda dark photo, but mmm pb mouse with dark chocolate coating and a nutter butter on top! I wish I could have tasted this one.

pretty sunset during our post dinner walk near the cafe

After a great trip, we headed back home to California. It was good to get away, but it's always good to get home too. We got home on a Thursday and Ryan was headed back down to San Luis Obispo to bring the plane back to his brother and asked me if I wanted to go too. At first, I thought it would best to stay home, rest since I still wasn't feeling good, but then I changed my mind. Live life on the edge and fly to SLO for the weekend! I am sure glad I did and it was a great time. We hiked Bishops Peak (where I almost gave up since I thought I was going to lose my lunch, but we made it!), went to some of our favorite places, saw the Cal Poly men's soccer team play on Sunday and I felt like I was a college student all over again. Okay, not really, but it's fun to pretend. Things are still pretty much the same, but it's always so weird to go back and explore your old stomping grounds for a weekend. We didn't end up getting home until super late that Sunday and I knew I would be paying for it come the next week getting back into the swing of things at work, but it was well worth it. I couldn't have asked for a better weekend, a better vacation and a better captain to spend it all with.

                                                        Here's to next year, captain!

Tuesday, September 20, 2011

Peanut Butter Oatmeal Chocolate Chip Cookies

Let me start off saying that this cookie recipe has been a secret of mine for quite some time and I did not share it with anyone for a long, long time. In fact, it took me almost two years to give this recipe to Ryan (he's the only one I have given this to)! I thought about this for awhile now and have decided that it is time to share this winner with the world. I can not keep it in any longer.

What is there not to love about peanut butter, chocolate chips and oats. I am one of those people that love the combination of peanut butter and chocolate in just about anything, but this chewy cookie takes the cake. There is just something about that sweet and salty combination that makes these one of the best cookies EVER. Once you start making them I promise you will feel the same way. They are highly addictive and once you starting eating them, you can't just have one. Seriously that addicting. No joke.

This awesome cookie is great right out of the oven all ooey gooey and they last for about a week when kept in an airtight container. Although they probably won't last all week. Maybe a couple of days. These cookies are great to make in a large batch and then pop in the freezer for when you need a quick dessert or are just craving a cookie. I used to tell myself that if I put them in the freezer that they were out of sight and out of mind. Ya right. These bad boys taste just as good frozen and I know that there are cookies hidden under all those frozen veggies. I even have some in my freezer right now. So tempting, yikes!

This is the last cookie I made before we left on our trip and the last cookie to go in the "thank you" cookie box! These cookies are always a must when we travel and I'm sure once you try them, you'll become addicted too. Don't say I didn't warn you.

pb + chocolate = love

peanut butter creaming away

adding oaty oats oats

SO much cookie dough. I could seriously eat this right from the bowl

scooped and ready for baking

baked and cooling. YUM!

Peanut Butter Oatmeal Chocolate Chip Cookies
2 cups flour
2 cups old-fashioned or quick-cooking oats
1 tsp Baking Powder
1 tsp baking soda
1/2 tsp salt
1 cup butter, softened
1 cup sugar
1 cup packed brown sugar
1 cup creamy peanut butter
2 eggs
3 teaspoons vanilla extract
1 package chocolate chips (about 2 cups)

Beat butter, sugars and peanut butter in large bowl with mixer until light and fluffy. Add egg and vanilla and mix until incorporated. Mix first 5 ingredients until well blended in a separate bowl. Gradually add flour mixture, mixing well after each addition. Mix in chocolate chips.

Drop heaping tablespoonfuls of dough (about two inches apart) onto baking sheets. Bake 10 to 12 min. or until lightly browned. 

These cookies also go by another name - crack cookies. That addictive. That delicious. Also note that this recipe makes a lot of cookies so making a half batch is often what I do so I don't have them in my freezer teasing me to eat them!


Double Chocolate Coconut Cookies

Who doesn't love cookies, right? This is another recipe I thought I would try out before our vacation adventure and I am glad I did. I wasn't originally planning to make multiple types of cookies before our trip, but since someone Ryan new would be picking us up when we landed in Washington at the little airport in Quincy, I got the great idea to make him a "thank you!" cookie box. Like I said, who doesn't like cookies! Cookies make everything better. At least I like to think so.

These cookies are the perfect bite of chocolate, coconut and white chocolate. You get a little bite and crunch from the coconut, you get the sweetness from the white chocolate chips and then you get the richness from the cocoa powder. Oh and don't let me forget about walnuts! If you enjoy chocolate and coconut as much as I do (hello mounds bars!), you've got to try these. The cookies came out a bit thinner then I thought, but the flavor was spot on. I think next time I make these, I will opt not to use the cookie scoop so I can make it more of a drop cookie and so it will be a little bigger and thicker.  That and how fun would it be to make these with almonds instead of walnuts. It would be like an almond joy.  How delicious would that be? I can't even remember the last time I had an almond joy. Although, there is a recipe on one of my favorite blogs Joy the Baker that I can't wait to try - homemade almond joy! Okay, I am getting off topic again. See how easily distracted I get when I talk about sweet treats? Back to cookies.


love love white chocolate

butter and sugar creaming.

add in cocoa powder!

I think I made the scoop too small - next time bigger scoop = bigger cookie

cookies done and cooling.


Double Chocolate Coconut Cookies (www.marthastewart.com)

1 cup (2 sticks) unsalted butter, softened
1/2 cup granulated sugar
3/4 cup packed light-brown sugar
2 large eggs
1 teaspoon pure vanilla extract
1 3/4 cups all-purpose flour
1/4 cup unsweetened Dutch-process cocoa powder
1 teaspoon baking soda
1/2 teaspoon baking powder
1/2 teaspoon coarse salt
2 cups white-chocolate chunks 
1 3/4 cups sweetened flaked coconut
1 3/4 cups coarsely chopped walnuts

Preheat oven to 350 degrees.

Put butter and sugars in the bowl of an electric mixer fitted with the paddle attachment; mix on medium speed until smooth, about 2 minutes. Mix in eggs, 1 at a time. Stir in vanilla. Sift flour, cocoa powder, baking soda, baking powder, and salt into a medium bowl. Mix into butter mixture on low speed until well combined. Stir in chocolate, coconut, and walnuts.

Using a 1 1/2-inch ice cream scoop, drop batter onto baking sheets lined with parchment paper, spacing 2 inches apart. Flatten slightly. Bake until set, 10 to 12 minutes. Let cool on sheets on wire racks 2 minutes. Transfer cookies on parchment to racks to cool completely. Cookies can be stored in airtight containers at room temperature up to 1 week.


This recipe makes a TON of cookies, about 5 dozen to be exact. I did not want that many cookies around my house, so I halved this one. It still made quite a few cookies. If you decide to make the full batch, these awesome cookies store great in the freezer. You can store them in Ziploc bags or Tupperware. They should last up to three months in the freezer, but I can bet that they will all be gone well before that. Especially when you find out they taste just as good frozen or after a quick zap in the microwave.
 

Monday, September 19, 2011

Marionberry Thumbprint Cookies

As you may remember, I fell in love with the strawberry rhubarb filling of this awesome pie that my mom and I found in Sebastapol back in August. I was so so so hoping that the company would have jarred this magical filling and made a jam, but they didn't. Darn. My parents went on a hunt for jam while still on vacation in Bodega Bay, and brought me back two jars - marionberry and fig and muscat jam. So delicious. If you are in the Sebastapol or Bodega area, you've got to go check out Kozlowski Farms. It will seriously be worth the trip, I promise. Check out their website here!

Back to cookies. Sorry, I get off track easily, especially when it's about jam or cookies. Ryan and I were getting ready for our vacation (see how far behind I am on blogging!) and I realized that it was time I make us some goodies and try out some new recipes. Plus, cookies are a must when we travel. Maybe it's just snacks in general, but cookies always seem to find there way into the stash. I have had my eye on these thumbprint cookies for awhile now and what better time to try them when I had some fantastic jam! 

These cookies are super simple and I am willing to bet you have everything already in your pantry and fridge to make these tasty morsels. You don't need fancy jam for these, you can just use whatever you have in your fridge. But if you have a variety of jam, spice it up and do half one flavor and half another! The nuts I rolled the cookies in really gave them a great added salty and sweet deliciousness too. I rolled mine in chopped pecans since I had some left over from making german chocolate cupcakes last month, but you can use whatever you have in your pantry - almonds, walnuts, pecans, hazelnuts. They all will be great in in this cookie. Promise! If you don't do nuts, or you are allergic, you can leave them out all together.

see, you probably have all these ingredients in your kitchen

MMM JAM!


dough rolled in little balls (don't know why this photo ended up before the next one, oops)
butter and sugar creamed


cookie station!

rolled in egg whites and chopped nuts

using the end of a wooden spoon or spatula is perfect for creating the right size hole for jam!

filled with jam and ready to bake

baked and ready to eat. just be careful to not sample right when they come out. the jam is like lava!

Thumbprint Cookies (courtesy of www.joyofbaking.com)

1/2 cup unsalted butter, room temperature
1/4 cup granulated white sugar
1 large egg, separated
1/2 teaspoon pure vanilla extract
1 cup all purpose flour
1/8 teaspoon salt
3/4 cup hazelnuts, almonds, pecans or walnuts, finely chopped
1/2 cup jam 

Preheat oven to 350 degrees and place rack in center of oven. Line a baking sheet with parchment paper. 
 
In the bowl of your electric mixer (or with a hand mixer), beat the butter and sugar until light and fluffy (2-3 minutes). Add the egg yolk and vanilla extract and beat until combined. In a separate bowl, whisk together the flour and salt. Add the flour mixture to the batter and beat just until combined. If the batter is too soft to roll into balls, refrigerate for about 30 minutes. In a small bowl, whisk the egg white until frothy. Place the chopped nuts on a plate. Roll the dough into 1 inch balls. Taking one ball of dough at a time, dip first into the egg white and then lightly roll in the nuts. Place on the prepared baking sheet spacing about 1 inch apart. Using your thumb or end of a wooden spoon, make a indentation into the center of each cookie and fill with about 1/2 teaspoon of jam.

Bake for about 13 - 15 minutes, or until cookies are set and the nuts have nicely browned. Remove from oven and place on wire rack to cool. 


There was not a thing I changed about this recipe. In fact, I can not wait to make these again during the holidays and try our different jam flavors in the middle. These are winner and a cookie that will now become part of my cookie collection for a long time. What is not to love about buttery sweet cookies with jam!


Poached Eggs

I am so behind on blogging, it's not even funny. I am finally starting to feel back to normal again, so I will be catching up soon, promise. Lots of recpies and lots of new product reviews that I think you will love too.


I am one of those people who loves, LOVES eggs. They are a great source of protein and you can do so many things with them - scrambled, hard boiled, quiche, egg while omelets. The list is endless! It's also one of the best ways I get in my rule of having breakfast for dinner at least once a week. I guess cereal counts too, but eh. I could eat three cups of cereal and still be hungry in a couple of hours. Eggs are way better and keep me fuller, longer. One of my favorite ways to eat them is "fried" (I do this with a non-stick pan and non-stick spray) or poached. As much as I love them poached and often order them this way when I go out for breakfast (mmm eggs benedict), I have never ever made them at home for myself. I am not sure why I was so scared of making them at home, but it was so much easier then I thought it would be. All you need is simmering water, a splash of vinegar (don't let this scare you) and eggs. Super easy and in less than a couple of minutes, you have the perfect poached egg - cooked whites and ooey gooey runny yolk. I love soaking up that yolk with bread.  Okay, I am salavating now. Are you a yolk person too?

I forgot to take a picture of the ingredients, but all you need is eggs, simmering water and vinegar.

you missed the swirling vortex of water and vinegar

looks gross, but trust me, the eggs are delicious!

poached eggs - complete!

I didn't over cook them, YES! Look at that runny yolk. YUM.

Now, I haven't done this before, but I think it is time. PRODUCT REVIEW! What goes better with bread and eggs then sausage right? I have come to love chicken sausage, especially with all the flavors they have out there these days - everything from savory to sweet. There are so many brands, but these ones from Al Fresco are super yummy. And even better, they are cheaper then some of the other brands you have in your local grocery store. They ring in at about 130 calories for one and they are loaded with protein. You've got to scope our your grocery store and see if they have these and try them out. They are the perfect accompaniment for your breakfast and they cook up in no time (they are fully cooked so all you have to do is brown them up and heat them up!)

gluten free and all natural!

yummy breakfast! With two eggs, sausage and a half a pita, this filling meal came in at about 350 calories. Not too shabby!

Poached Eggs

Eggs
Splash of vinegar


Heat up a pan of water (make sure to use a pan that will be large enough to hold the amount of eggs you will be poaching) until lightly simmering. You do not want the water to be boiling. This will cause you eggs to fall apart. Once the water is simmering add a splash of vinegar to the pan. This will help ensure that the eggs form into the right shape and not end up swimming all over the pan. 

Crack each egg into a small cup or ramekin. This will make it easier to get the egg into the pan and to check for any bad eggs. Using a wooden spoon swirl the water making a small vortex and slowly add the egg into the center of the swirling water. Continue for the rest of the eggs.  After about a minute, move the egg around gently to make sure it does not stick to the bottom of the pan. After about 3-4 minutes you will have a perfectly cooked egg. Remove from the pan with a slotted spoon and drain on a paper towel.


See, it's not as scary as you thought, right? Now get poaching and soaking up that yolk!

Thursday, September 15, 2011

Blog Neglect - Oops!

Hi Readers! I know, I know, I've been MIA, but I have a good excuse. I was on vacation with no access to my laptop, and then I caught a head cold thing- while on vacation (ew). When I was ready to start posting again and share some recipes with you all, I was overwhelmed with getting caught up at work and then I caught another little fun bug and am just starting to feel somewhat back to normal again. I promise soon to start posting again and get you back in the kitchen with me.

In the meantime, here is a sneak peek of where I was. If you can guess where this is and who is on the stage, you rock.