Now, I know what you are thinking - yeast based breads are scary and they never work out for me. Well, let me tell you, you are not alone. Yeasty breads are intimidating, but trust me, you can master them! And, what better way than to try with this homemade (and not to mention, beautiful!) challah. Let me just say this, I am not Jewish, so I won't be telling you all about passover and the history of it (and clearly I shouldn't considering I already mixed up matzoh and challah on the first day of passover)! Before I begin telling you how to make the bread. Let me tell you a bit about the bread. Challah is made with plenty of eggs (lots of yolks), sugar, flour and yeast. Some recipes even call for a bit of honey or molasses to sweeten it up a bit. The most important feature of this bread is that it is braided. You can do it with three strands or challenge yourself with six! Not to forget, this bread is kosher - no dairy and no meat. Of course if going kosher isn't your thing, you can always use melted butter in place of the oil in the recipe, but we'll get to that in a minute. Let me walk you through this challah step by step so you won't be scared of tackling this dough yourself. Don't be scared, be prepared! My mom always told my sister and I that. I guess it even applies to baking bread too, right mom?
To start this dough, you need to dissolve the yeast (make sure it's fresh!) in warm water with a pinch of sugar. When I say warm water, I mean warm water - about 110 to 115 degrees. If it's not warm enough your yeast won't bloom, but if it's too hot, you'll kill the poor yeasties. You don't want to do that. You'll know your yeast is working when it starts foaming and looking frothy. While the yeast is doing its thing, you'll want to dump the flour, sugar and salt into your stand mixer. You can always do this in a large bowl if you're doing it by hand (you are a brave soul if you do this by hand). Make a well in the middle of the flour mixture and add in the egg, oil and yeast mixture and knead the dough for about 6-8 minutes or 10, if by hand. Once the dough has formed into a not so sticky ball, you will need to let it rise for about two hours. If you are having issues getting the dough to rise, warm up your oven slightly, turn it off and then stick the bowl in the oven to rise. This little bit of heat will help it get going, if needed. Once the dough has doubled, you will want to separate the dough into three portions and roll them into long ropes, about 16 inches long. Then braid the ropes as if you were braiding your hair (for more tips on braiding, check this out!) and tuck under the ends to make the loaf look clean. Let the bread rise again, but this time only for an hour (using the oven technique if you need to). Once it's puffy, make sure to brush the whole loaf - that means all nooks and crannies - with egg wash. This will give the challah the brown and shiny exterior it's known for. Once the bread is ready, you have one last step - bake the bread! In about 30 minutes, you will have some of the best bread ever on your hands. Rich, slightly sweet, eggy, and so beautiful.
It does not need to be just any Jewish holiday to enjoy this fabulous homemade bread though. You can make it anytime. Day or night. You can eat it by itself or you can even slice it thick and make homemade french toast. Homemade challah is the best for french toast! Oooh, or even bread pudding. Now that sounds good. Regardless of how you choose to eat this fantastic bread, you must make it. This is the perfect bread to make for a first time bread maker. No fancy ingredients, no fancy techniques, just delicious bread.
Here are the pictures, step by step:
 |
| just a few ingredients are needed to make this bread |
 |
| see the foaminess - that's what you want! |
 |
| flour + sugar + salt |
 |
| make a well and add in the eggs and oil |
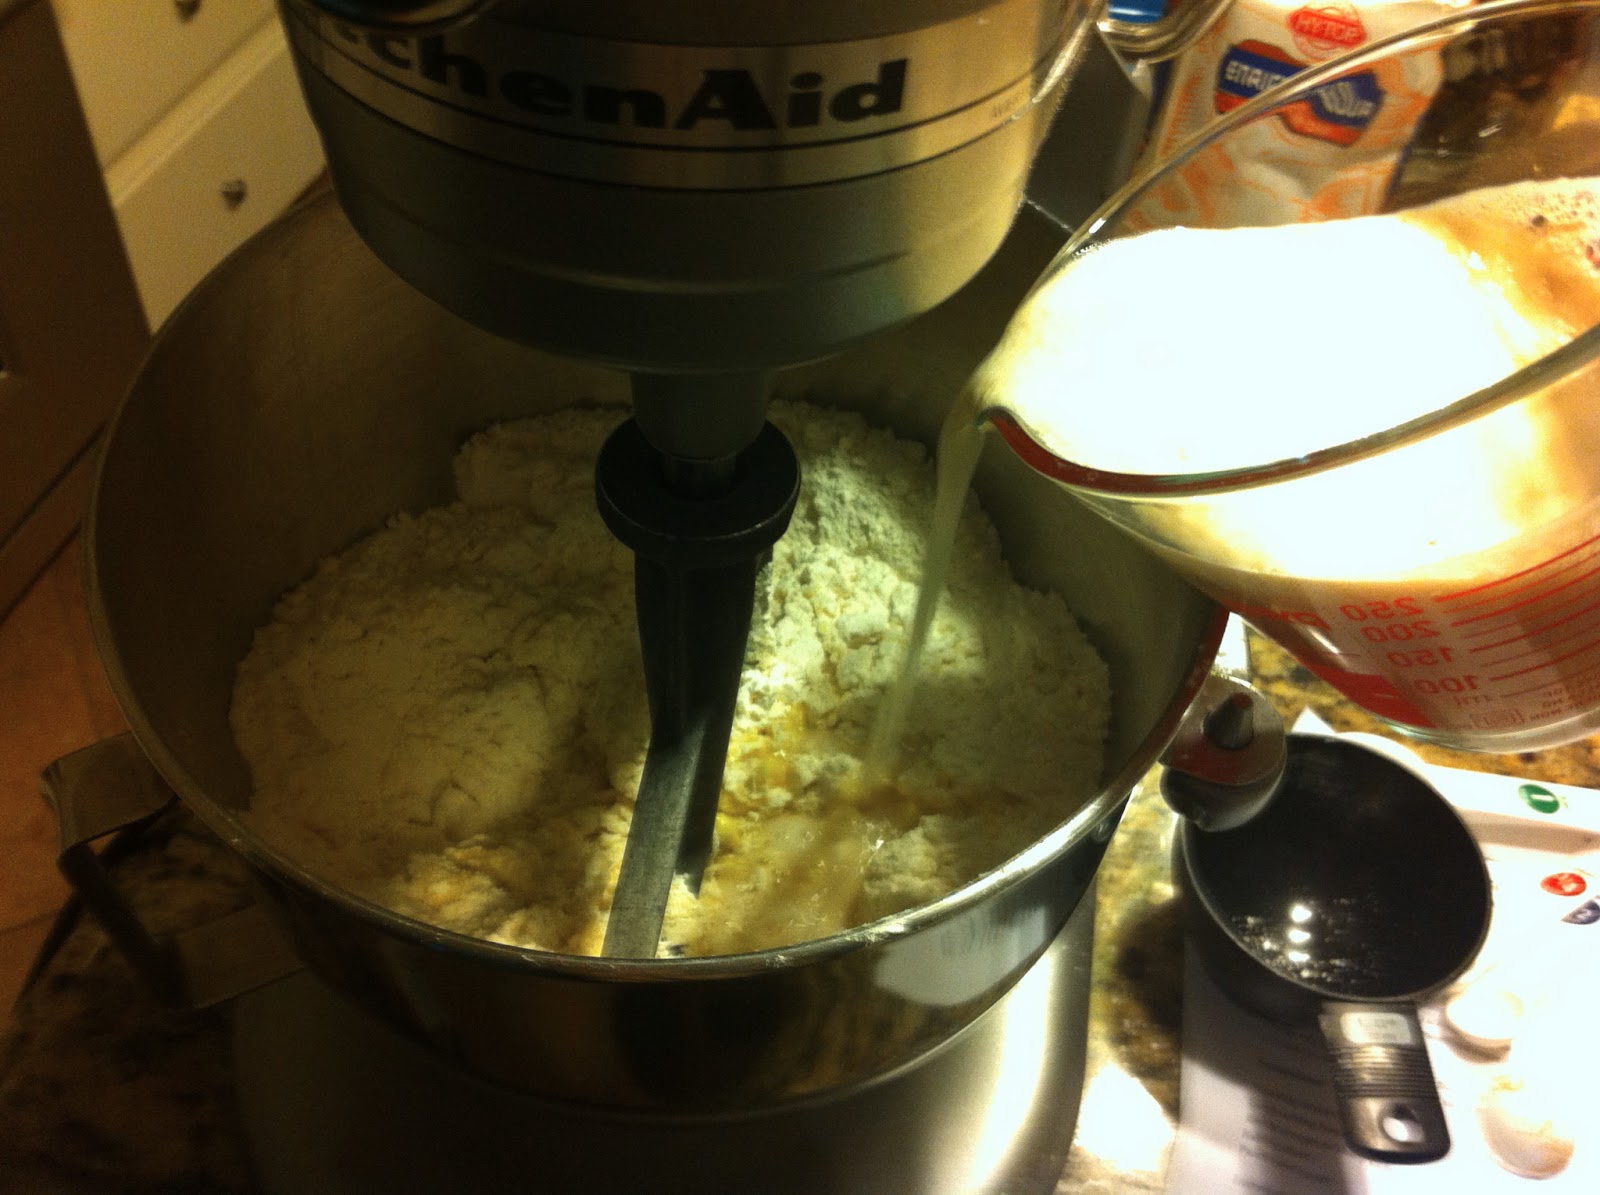 |
| add in the yeasty goodness |
 |
| mix until the dough comes together and knead |
 |
| set the dough in an oiled bowl |
 |
| after two hours the dough has risen! |
 |
| shape into three long rolls |
 |
| braid and tuck the edges under |
 |
| look how big it gets after another hour! |
 |
| brush all over with egg wash |
 |
| just a little over 190 degrees |
 |
| so beautiful |
Homemade Challah (from The Kitchn)
2 teaspoons active dry or instant yeast
1 cup (8 ounces) lukewarm water (110-115 degrees)
4 - 4 1/2 cups all-purpose flour
1/4 cup white granulated sugar
2 teaspoons salt
2 large eggs
1 large egg yolk (reserve the white for the egg wash)
1/4 cup canola or vegetable vegetable oil (to keep kosher - you can use butter if you are not going kosher)
Step By Step Instructions:
1. Dissolve the yeast. Sprinkle the yeast over the water in a small bowl, and add a healthy pinch of sugar. Stir to dissolve the yeast and let stand until you see a thin frothy layer across the top. This means that the yeast is active and ready to use. (If you do not see this or if your yeast won't dissolve, it has likely expired and you'll need to purchase new yeast.)
2. Mix the dry ingredients. Whisk together 4 cups of the flour, sugar, and salt in the bowl of a standing mixer (or in a large mixing bowl if kneading by hand).
3. Add the eggs, yolk, and oil. Make a well in the center of the flour and add the eggs, egg yolk, and oil. Whisk these together to form a slurry, pulling in a little flour from the sides of the bowl.
4. Mix to form a shaggy dough. Pour the yeast mixture over the egg slurry. Mix the yeast, eggs, and flour with a long-handled spoon until you form a shaggy dough that is difficult to mix.
5. Knead the dough for 6-8 minutes. With a dough hook attachment, knead the dough on low speed for 6-8 minutes. (Alternatively, turn out the dough onto a floured work surface and knead by hand for about 10 minutes.) If the dough seems very sticky, add flour a teaspoon at a time until it feels tacky, but no longer like bubblegum. The dough has finished kneading when it is soft, smooth, and holds a ball-shape.
6. Let the dough rise until doubled. Place the dough in an oiled bowl, cover with plastic wrap, and place somewhere warm. Let the dough rise until doubled in bulk, 1 1/2 to 2 hours.
7. Separate the dough and roll into ropes. Separate the dough into three pieces. Roll each piece of dough into a long rope roughly 1-inch thick and 16 inches long. If the ropes shrink as you try to roll them, let them rest for 5 minutes to relax the gluten and then try again.
8. Braid the dough. Gather the ropes and squeeze them together at the very top. If making a 3-stranded challah, braid the ropes together like braiding hair or yarn and squeeze the ends together when complete.
9. Let the challah rise. Line a baking sheet with parchment and lift the loaf on top. Sprinkle the loaf with a little flour and drape it with a clean dishcloth. Place the pan somewhere warm and away from drafts and let it rise until puffed and pillowy, about an hour.
10. Brush the challah with egg white. About 20 minutes before baking, heat the oven to 350°F. When ready to bake, whisk the reserved egg white with a tablespoon of water and brush it all over the challah. Be sure to get in the cracks and down the sides of the loaf.
11. Bake the challah. Slide the challah on its baking sheet into the oven and bake for 30-35 minutes, rotating the pan halfway through cooking. The challah is done when it is deeply browned and registers 190°F in the very middle with an instant-read thermometer.
12. Cool the challah. Let the challah cool on a cooling rack until just barely warm. Slice and eat.
Oh holla, it's challah!
No comments:
Post a Comment